


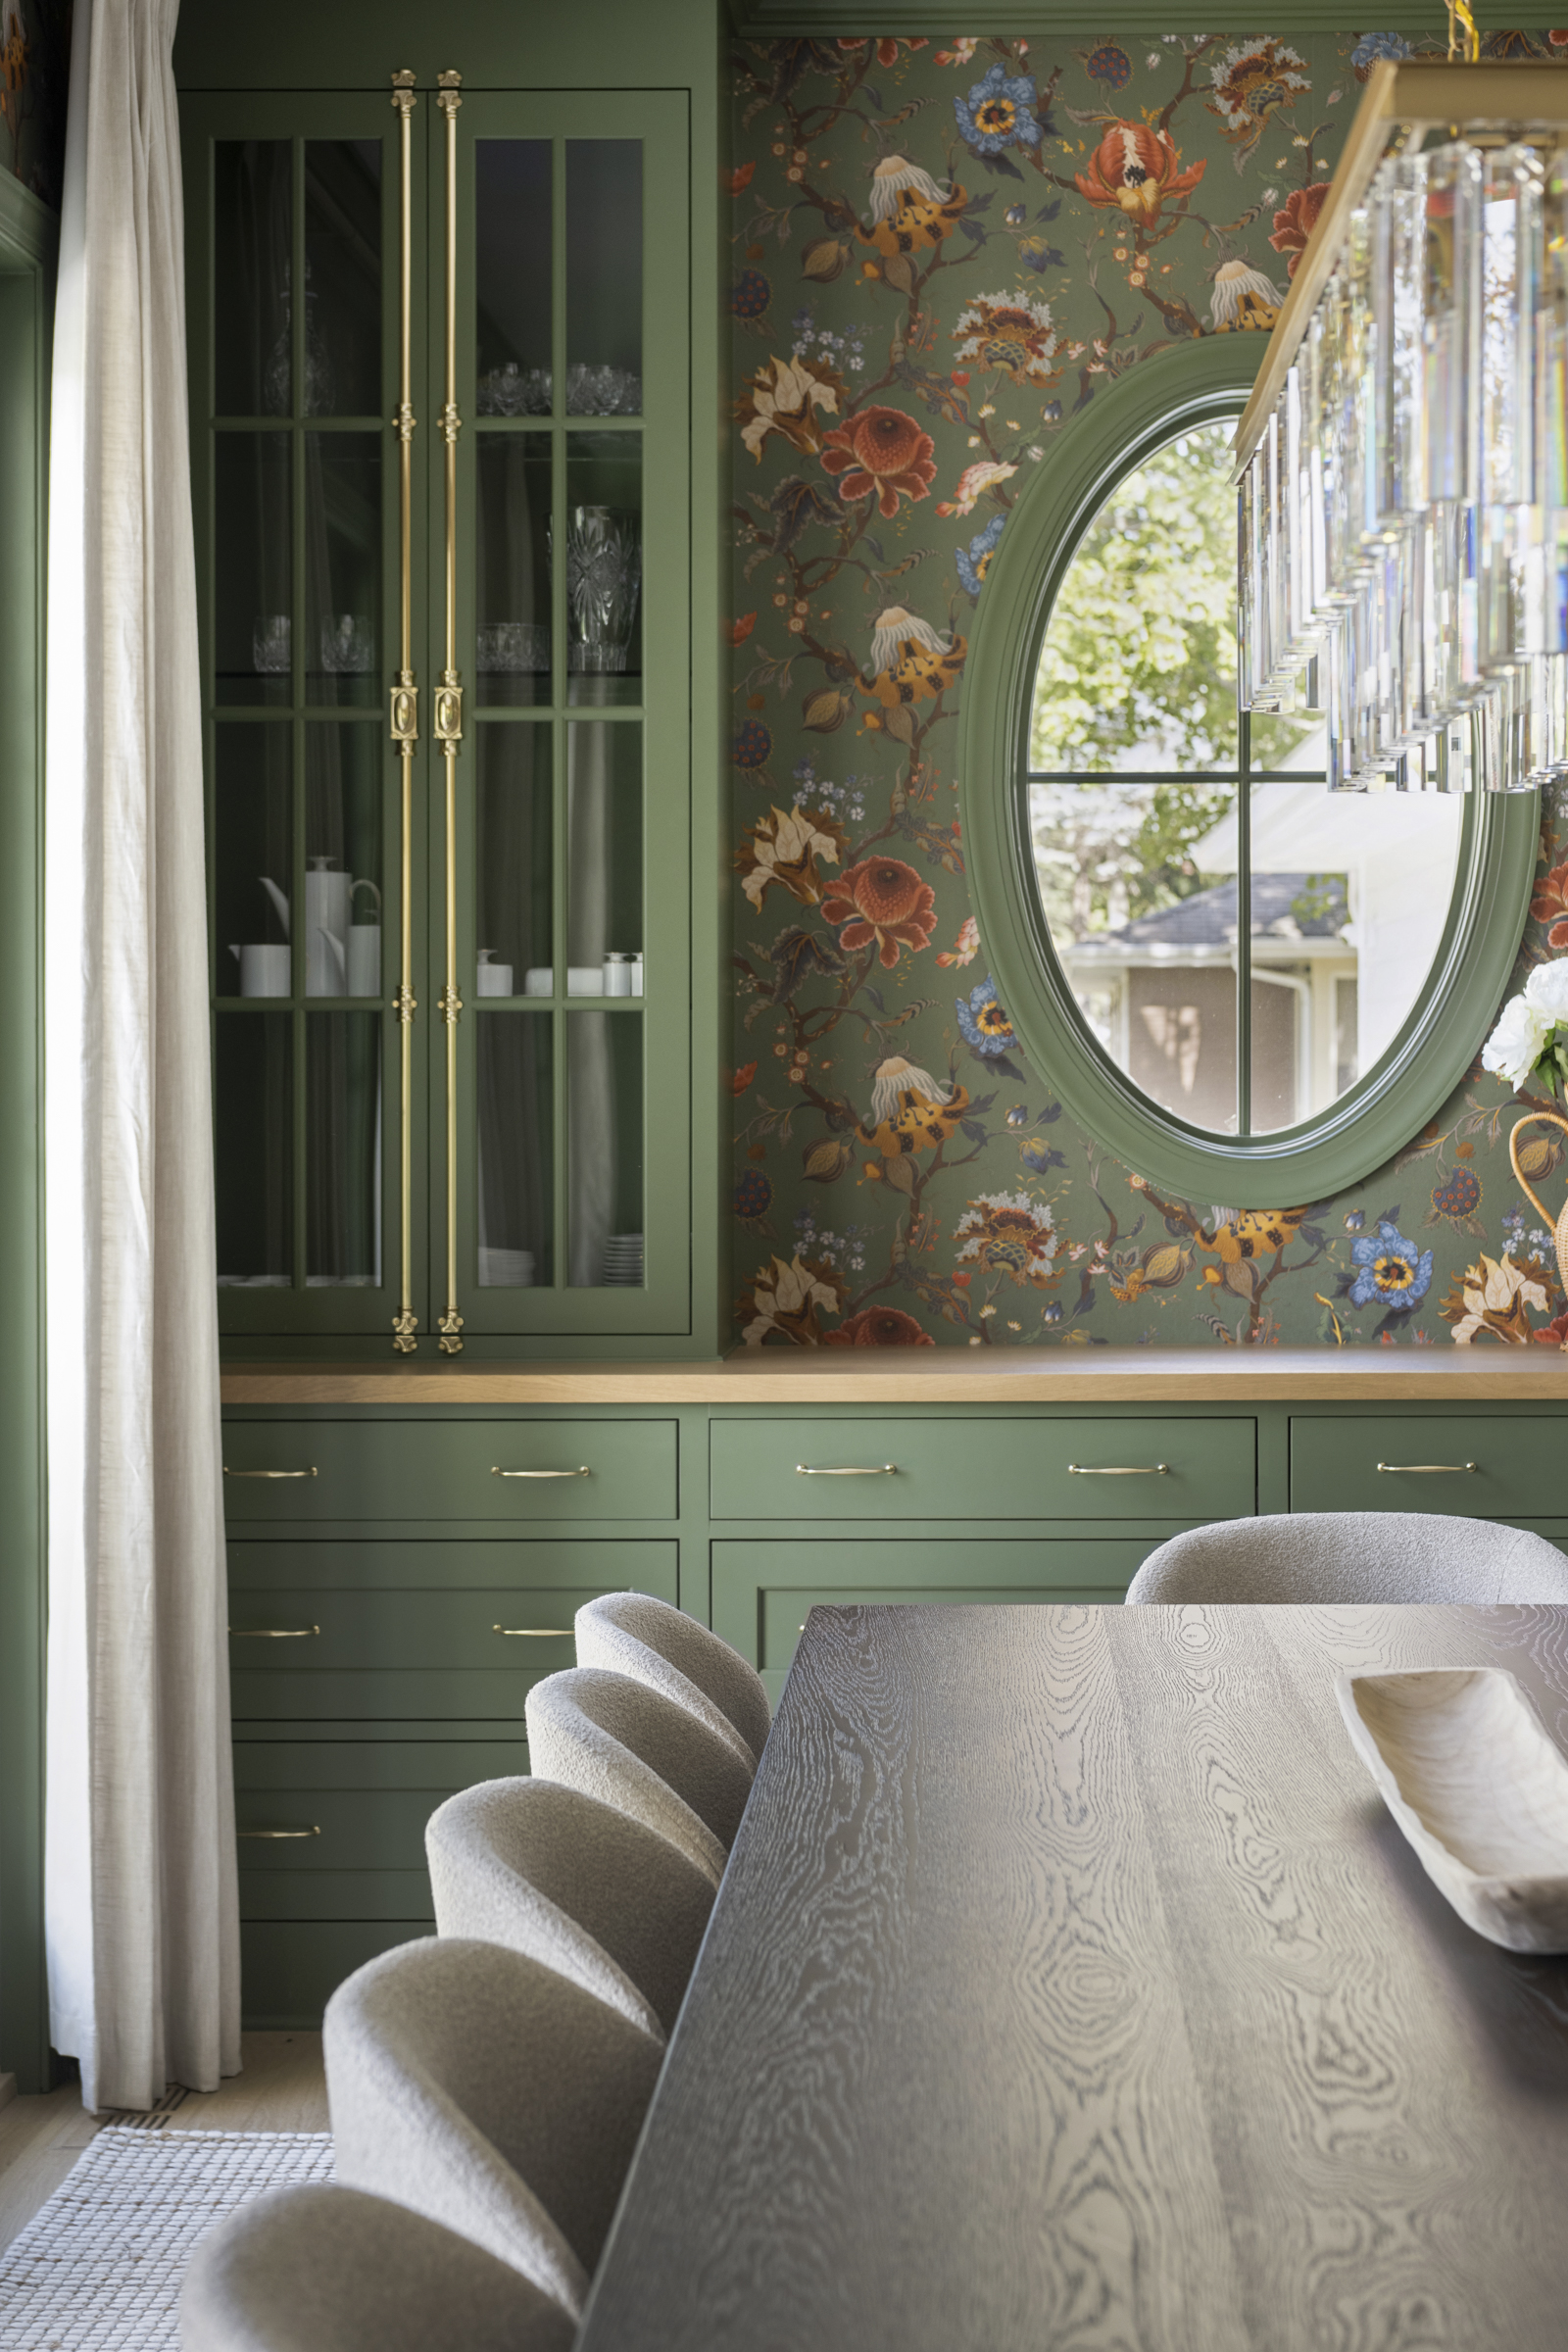
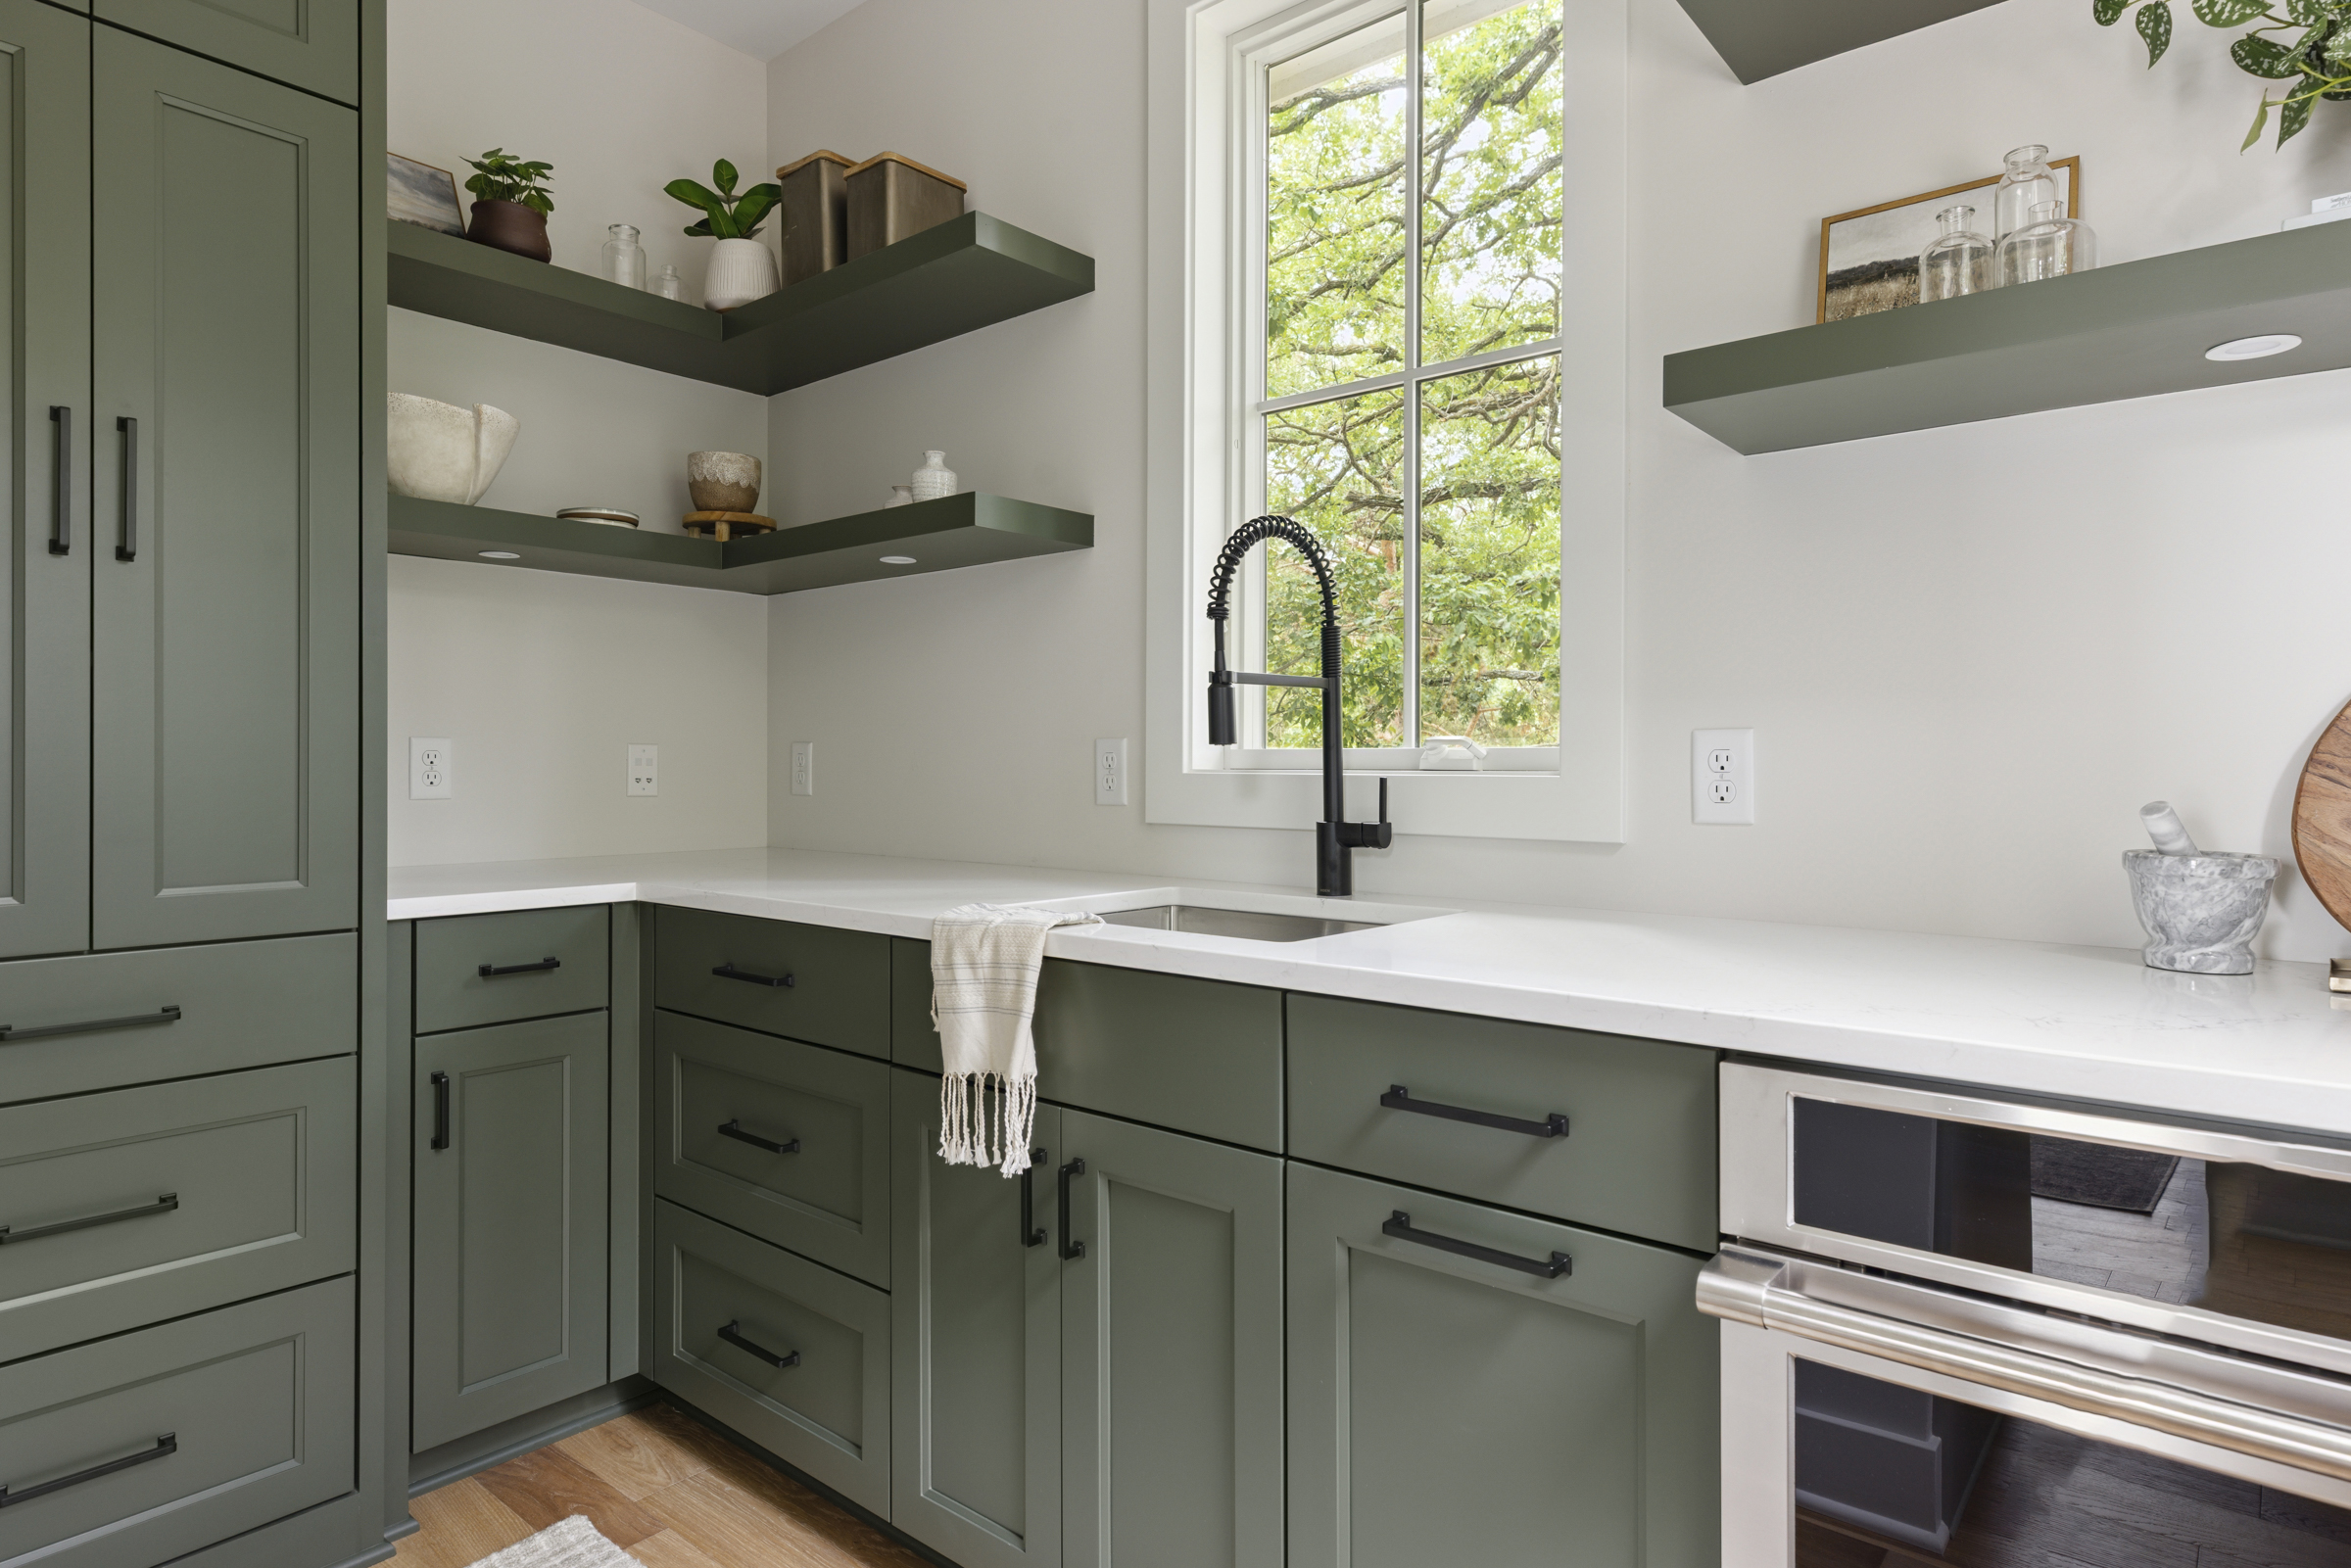
The kitchen is arguably the most important room of a house, and most people prioritize a beautiful kitchen when they’re choosing (or building!) a home. If your kitchen is a bit outdated, though, or the home you buy doesn’t quite have the perfect kitchen yet, all hope is not lost! Painting cabinetry makes a huge difference in the look of your kitchen, and can be done yourself with a bit of preparation and elbow grease.
Painting cabinetry is not as simple as taping and painting. There are actually quite a few steps you need to follow in order to get a professional-looking finish on your cupboards. So let’s walk through the process, step-by-step!
Step 1: Prep
You’ll need to empty and take the doors off your cabinets before doing anything else! Make sure to remove all of the hardware too, and save it in a safe place so nothing gets lost during the painting process. Use painter’s tape and drop cloths to cover any surfaces you don’t want to get paint on, and clean all the cabinet surfaces to remove grease and dirt.

Step 2: Sand
Do not skip this step! Sand the entire surface of the cabinets frames and doors, front and back. An electric sander will be super helpful for this, just make sure to hand-sand in the corners and creases. Sanding will help you get a nice, level surface and will help the paint adhere better, too. After sanding, make sure the cabinets are dust-free by using a vacuum and a tack cloth (or slightly damp cloth). You don’t want to paint over loose dust!
Step 3: Prime
This is another step that you may be tempted to skip, but resist that urge! Priming your cabinets is essential to make sure your paint sticks to the surface, and it helps smooth the surface of the cupboards and any imperfections, too. The easiest way to prime cabinetry is to use a mini roller on the larger, flat surfaces, and a paint brush to get into crevices and corners. Prime the front and back of the cupboard doors, as well as the interior frames of the cabinets, but we recommend only painting the front piece of drawers, since painting the drawer sides and interior can sometimes cause them to slide less effectively.

Step 4: Paint
Time for the main event! Use a brush and rollers to paint the cabinet frames first, then the doors and drawers. Make sure to use long, even strokes, and don’t let any paint pool in corners. This can be a bit time consuming, since you’ll need to paint the backs of the doors, let them dry completely, then paint the front. Follow the directions on your chosen paint for dry times and timing for a second coat, if necessary.
Tip: We recommend using a semi-gloss or gloss finish paint for cabinets, since they look great and will also hold up longer (and are easier to clean!) than a flat paint.
Step 5: Reassemble
Use the hardware you set aside to reattach the cabinets doors to the frames, and put the cabinet and drawer handles back on. This is also a great opportunity for refinishing or upgrading your cabinet hardware. For a DIY option, you can spray paint hardware, or buy a new set to instantly upgrade the look of your cabinets! Reminder: we have a whole post about choosing the right hardware!

It’s not a quick process, and it can be a bit tedious, but if you put the time and effort into it, you can easily accomplish a professional-looking paint job on your cabinets, and save yourself the expense of hiring professionals! Have you ever painted your own cabinetry? How did it go? We want to know! Comment below and over on Instagram @AlmaHomes, too!
Photography: Melissa Oholendt, Laura Rae Photography, Spacecrafting Photography, Sarah Olfelt Photo, Alma Homes


Such an informative blog! One thing I would like to say that before starting painting we should keep our project dust-free by using a tack cloth. Everyone should follow the tips provided by you, it will make their work easier. Thank you for sharing! I will share it to all my friends and relatives. Keep Posting! Keep Sharing!