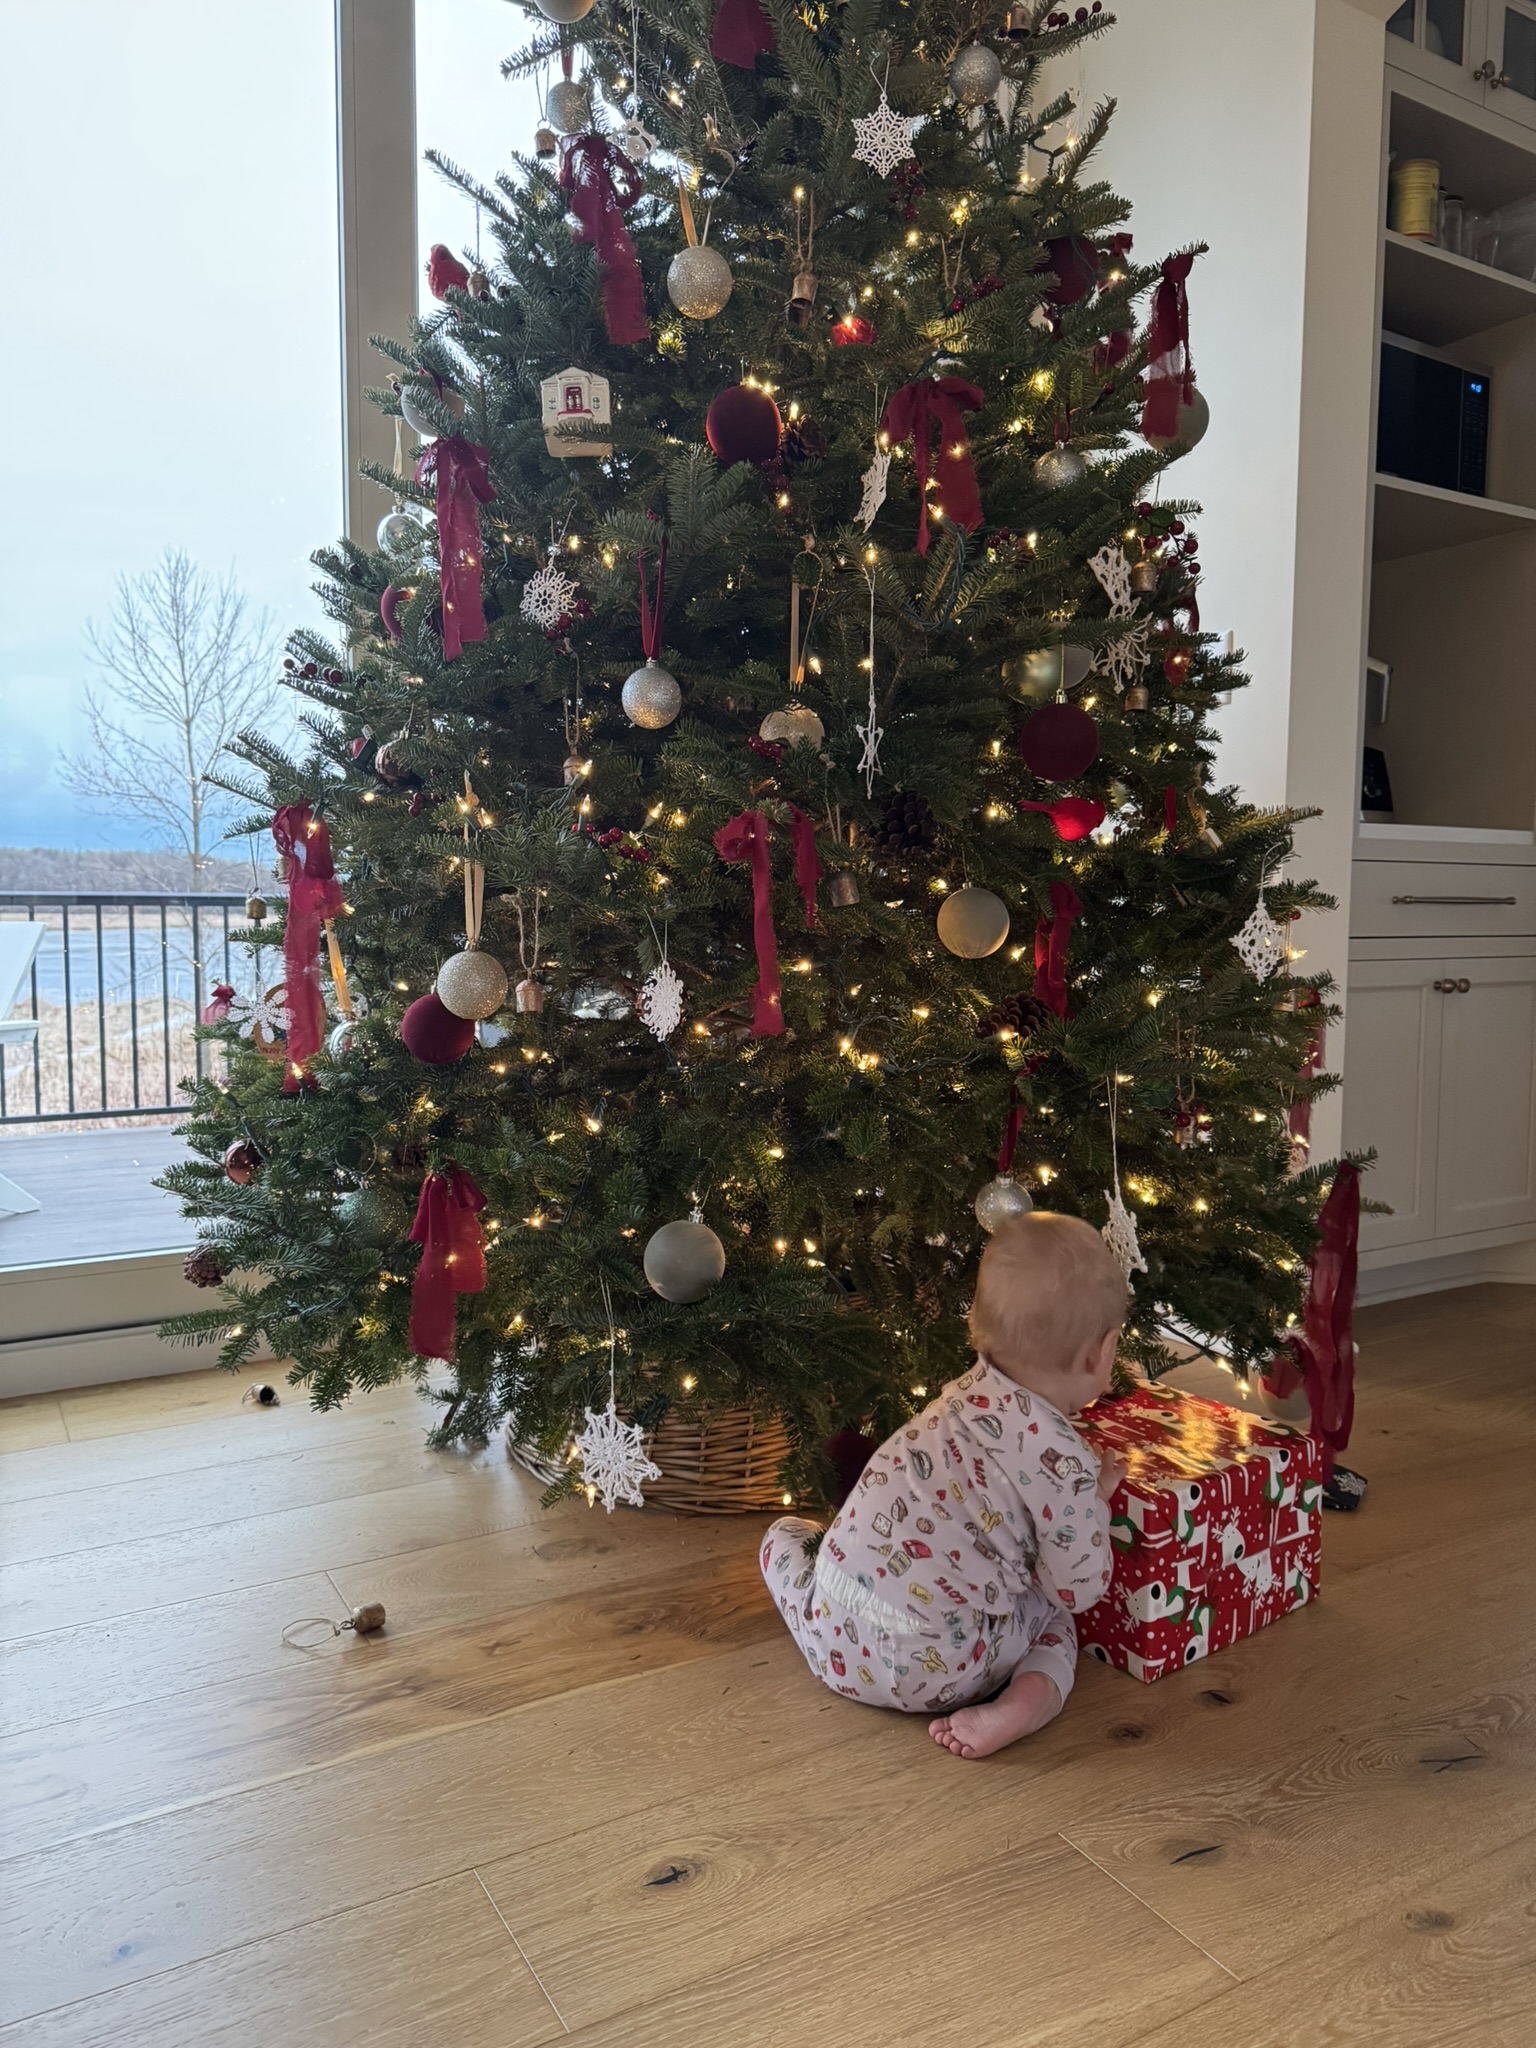
If you’ve ever wondered how those perfectly styled Christmas trees on Pinterest come together, the truth is it’s all about layering and intention. From choosing the right base to adding the finishing touches, every step plays a role so you can have a tree that looks full, balanced, and beautifully curated. Here’s how to design a Christmas tree that feels both picture-perfect and personal.
1. Lay the Foundation

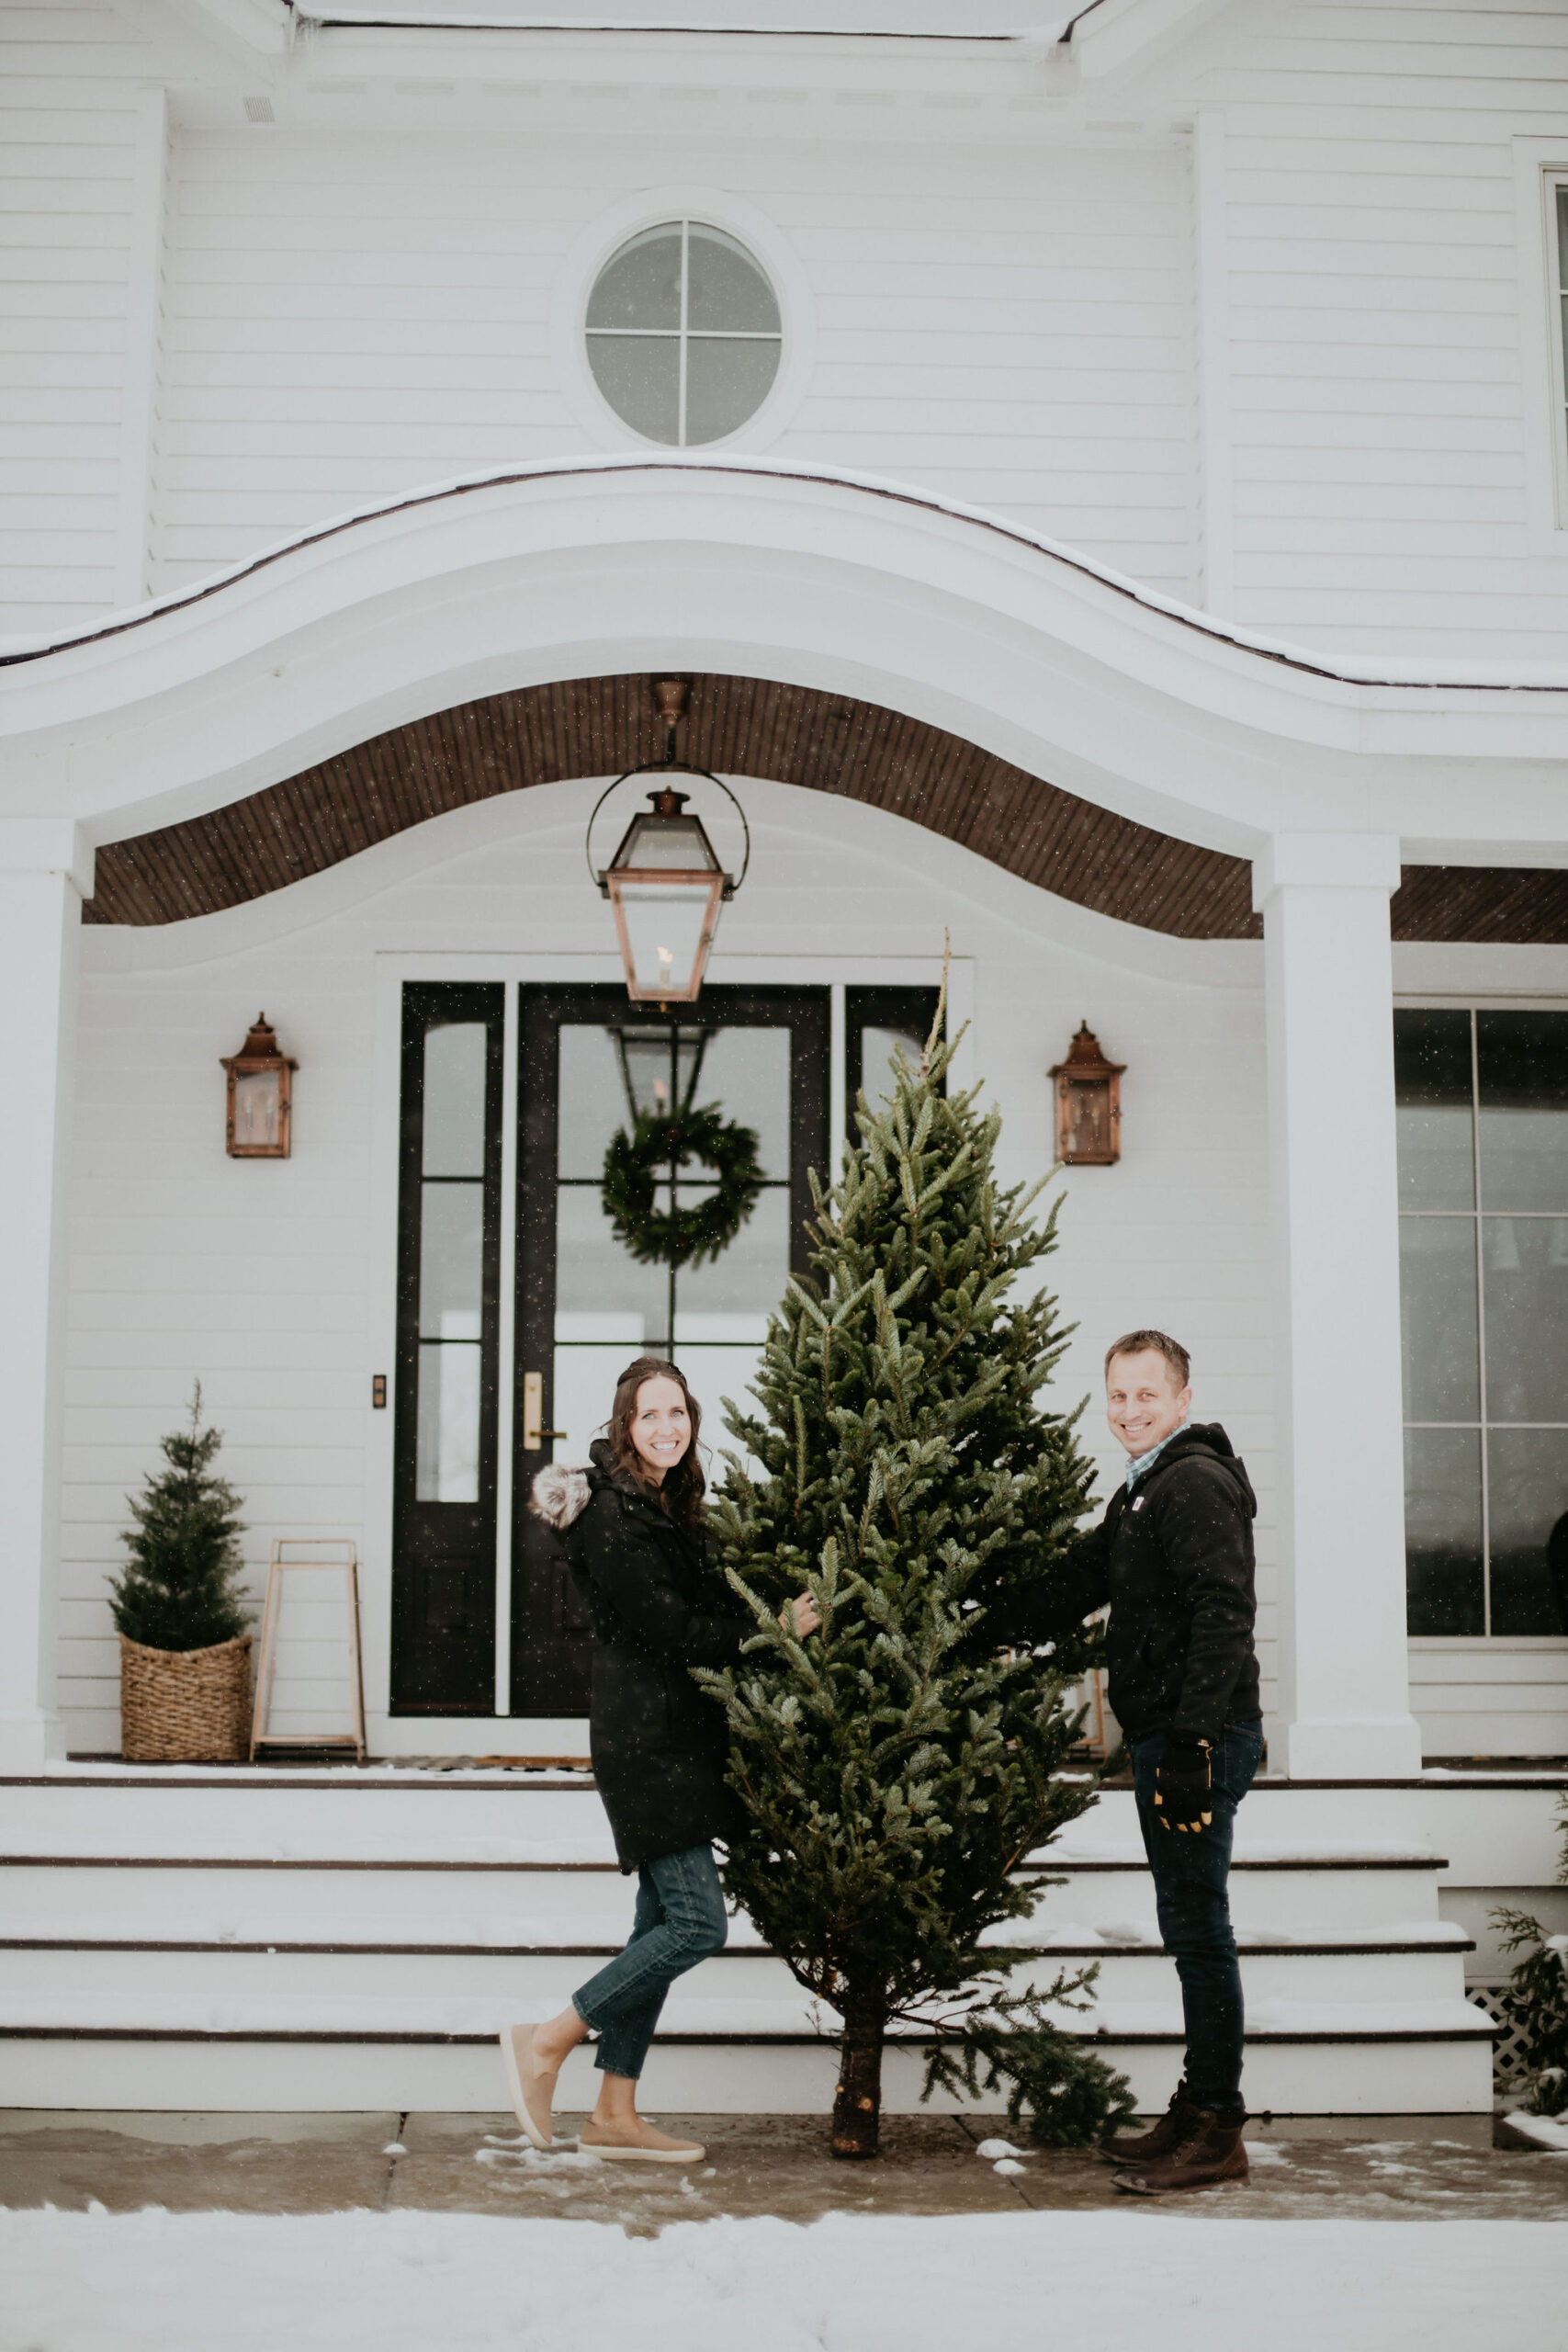
The foundation of a Pinterest-worthy tree starts before you even add the first ornament. First, decide whether you’ll go with a real or faux tree. Real trees offer that nostalgic scent and organic shape but require regular watering and can be messy. Meanwhile, faux trees have come a long way—look for ones with realistic branch tips, multiple shades of green, and sturdy, hinged branches for easy shaping.
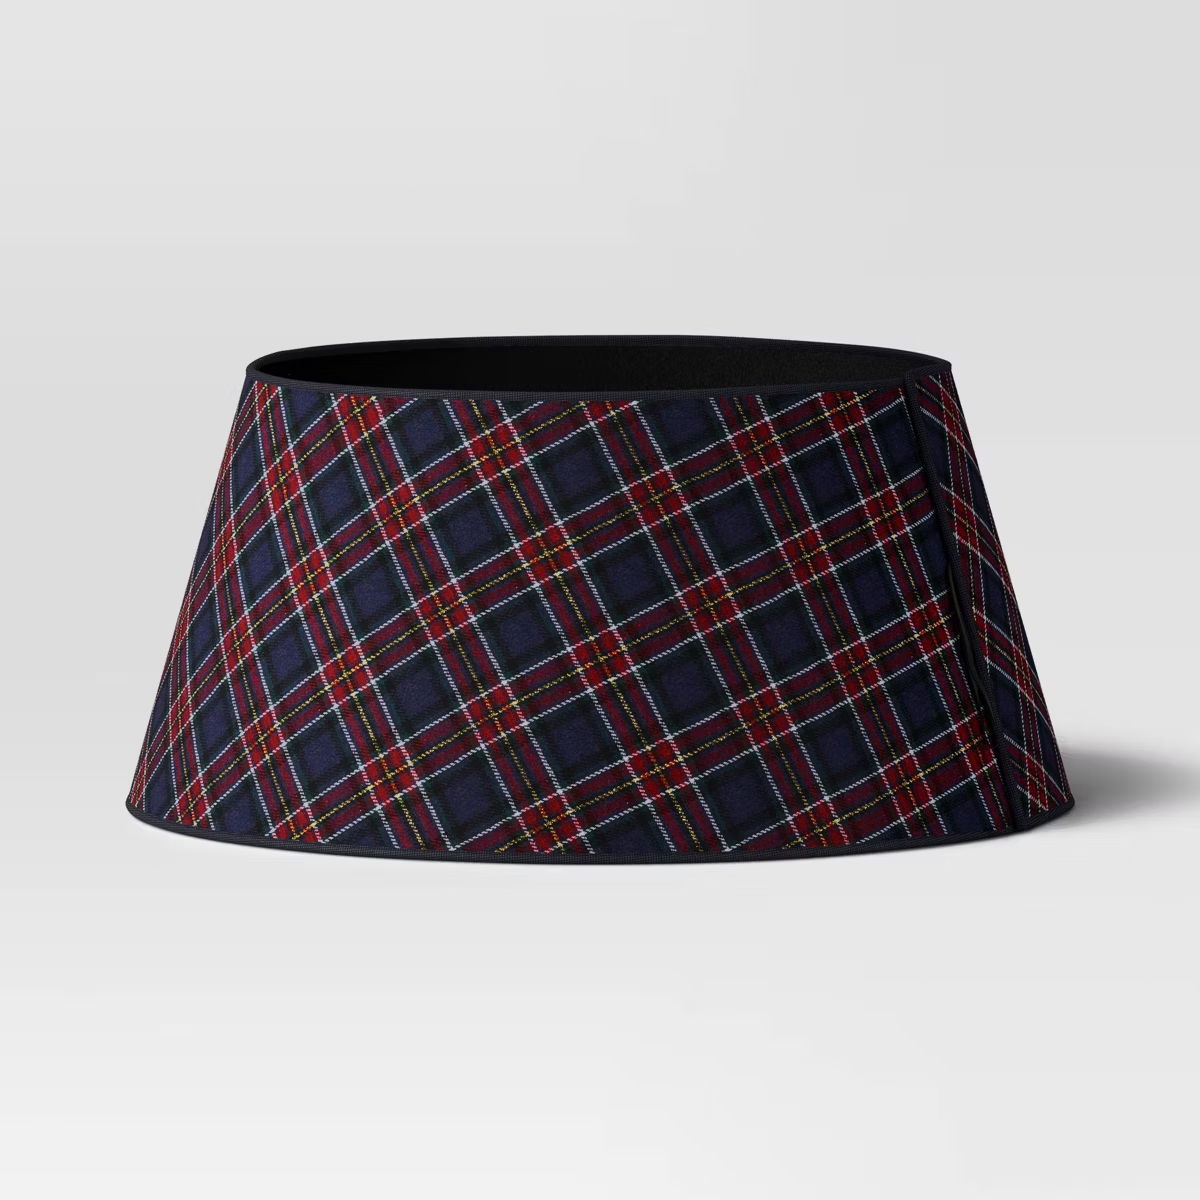
Once you have your tree, take your time to fluff and shape each branch for fullness. This step makes the biggest difference in achieving that designer look so don’t skip it! Once your tree is shaped, add a tree skirt or tree collar to complete the base. A tree skirt creates a soft, traditional feel and hides the stand while adding warmth. However, a tree collar covers more of the base while giving a cleaner, more modern look and keeps pets or small hands out from under the tree. Either option frames your tree beautifully—and helps it feel finished before you even start decorating.
Christmas Tree Skirts and Collars


2. Add Lights and Garland to Your Christmas Tree
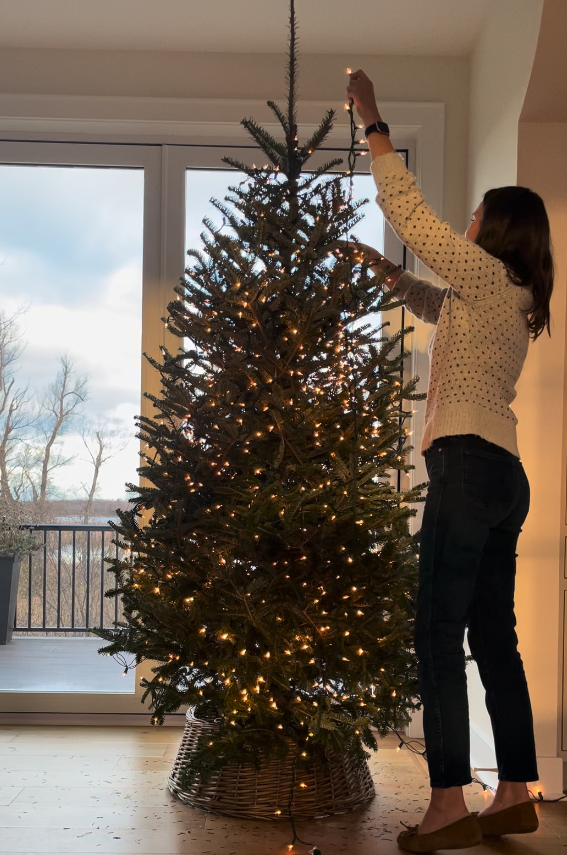
Before adding lights, check that every strand works (nothing kills the mood like a dark patch halfway up the tree). A good rule of thumb: use one string of 100 lights for every foot of tree height. For example, a 7-foot tree should have about 700 lights. When placing them, weave lights deep into the branches instead of just wrapping them around the outside. This creates a sense of depth and sparkle from within, rather than just a surface glow.
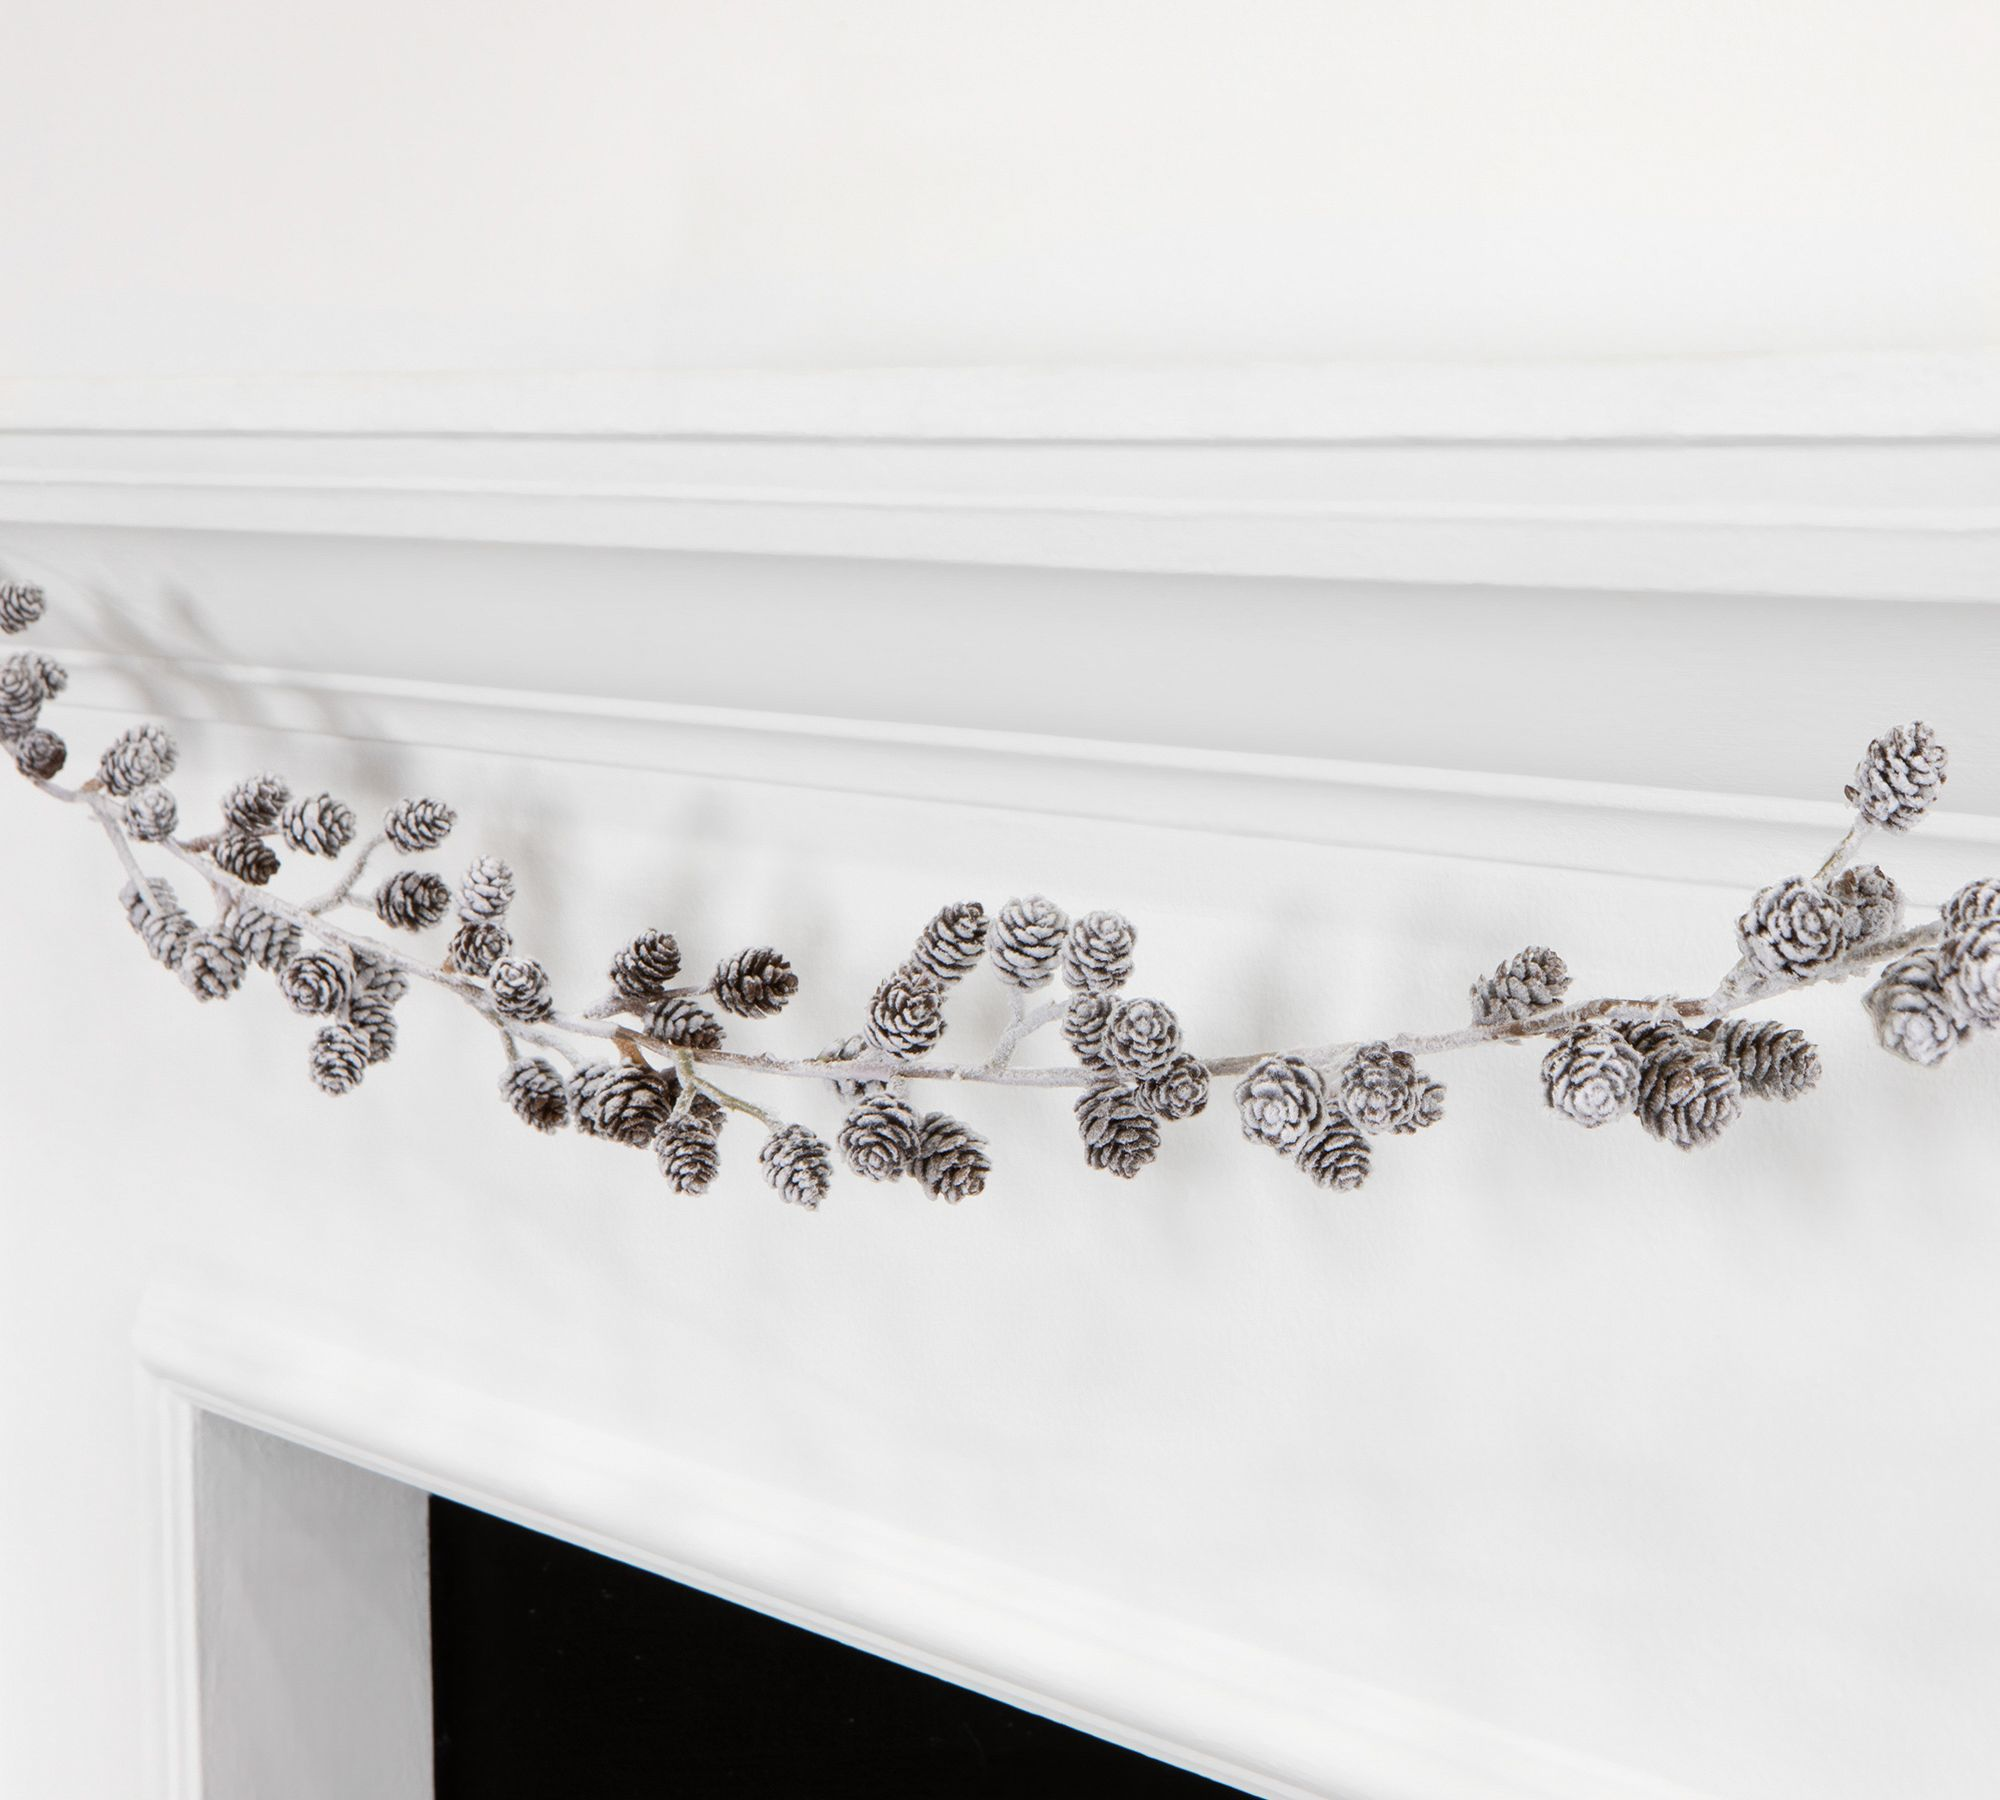
Next, bring in garland for color and texture. Whether you choose classic tinsel, wood beads, or ribbon, garland helps connect the lights and ornaments visually. In addition, layer multiple types for added richness—think metallic beads for shine and velvet ribbon for softness.
Christmas Tree Garland


3. Add Ornaments
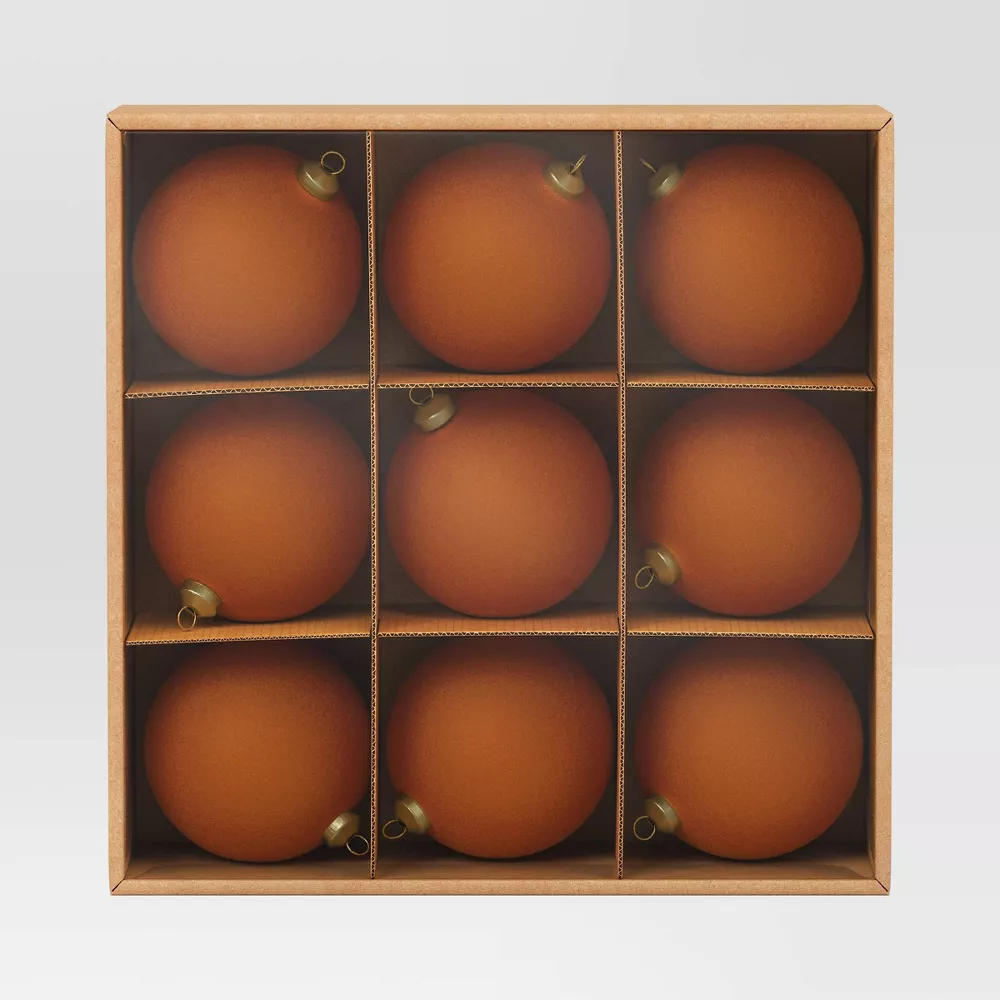
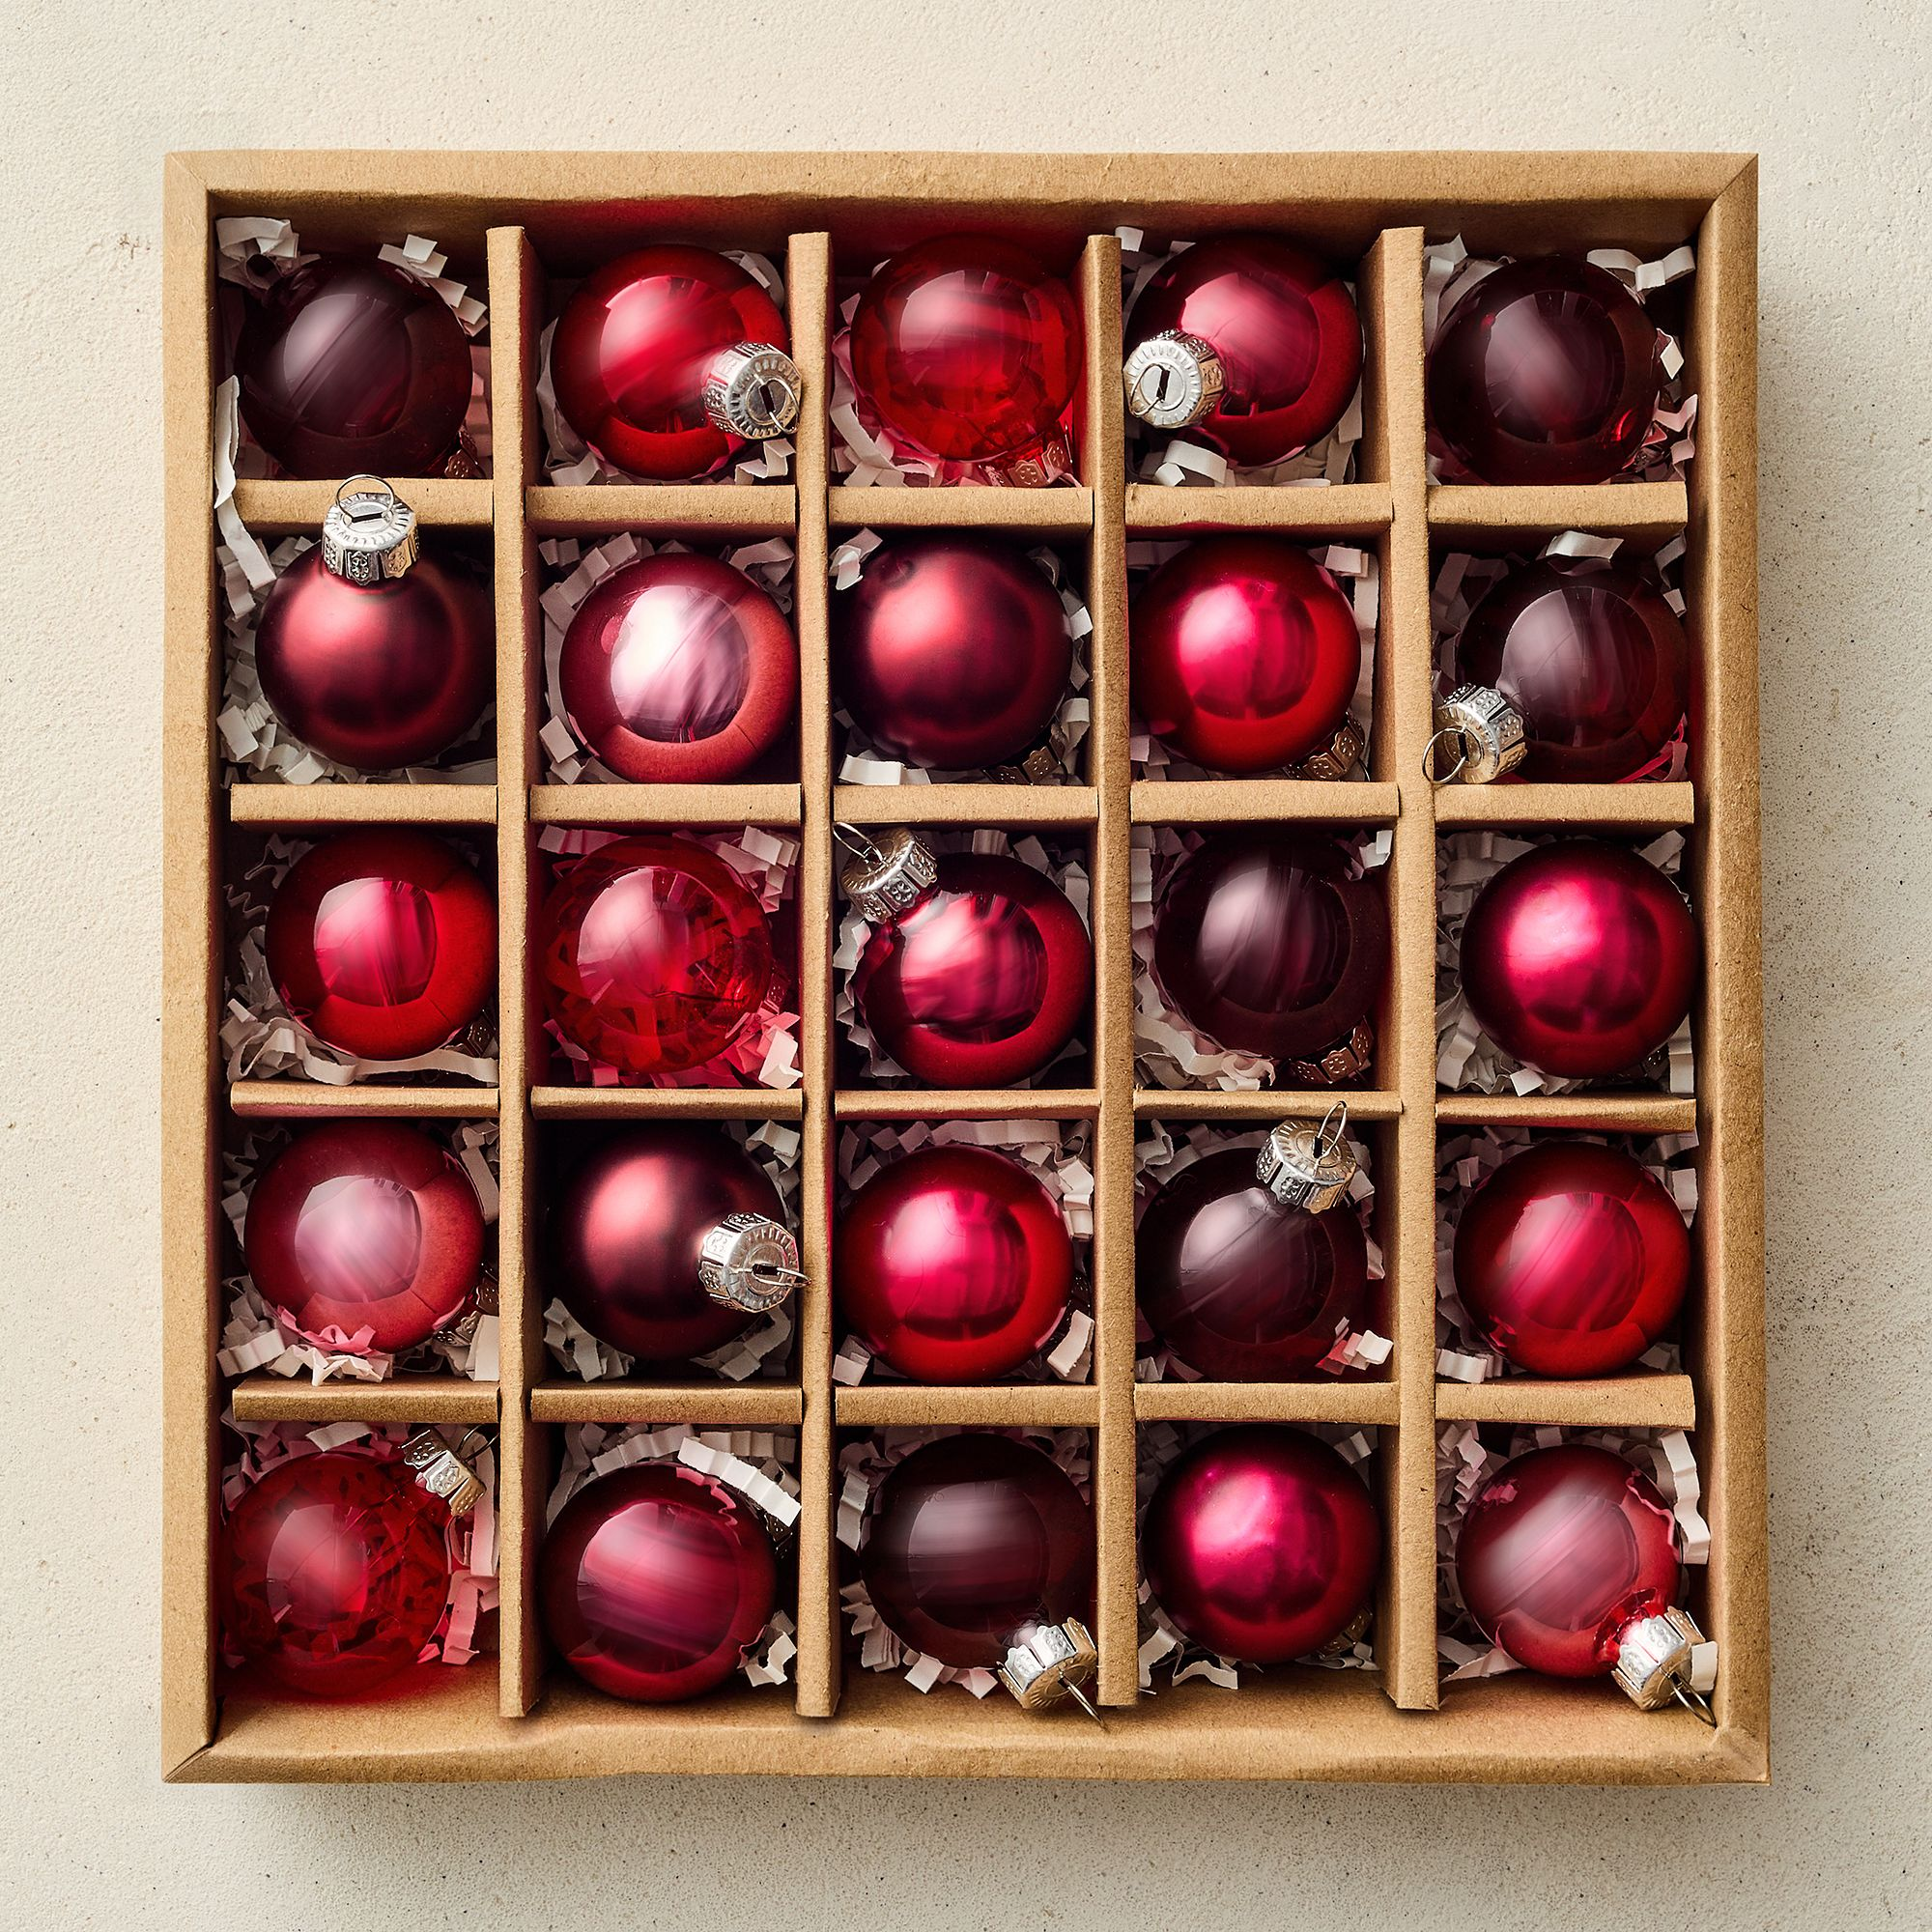
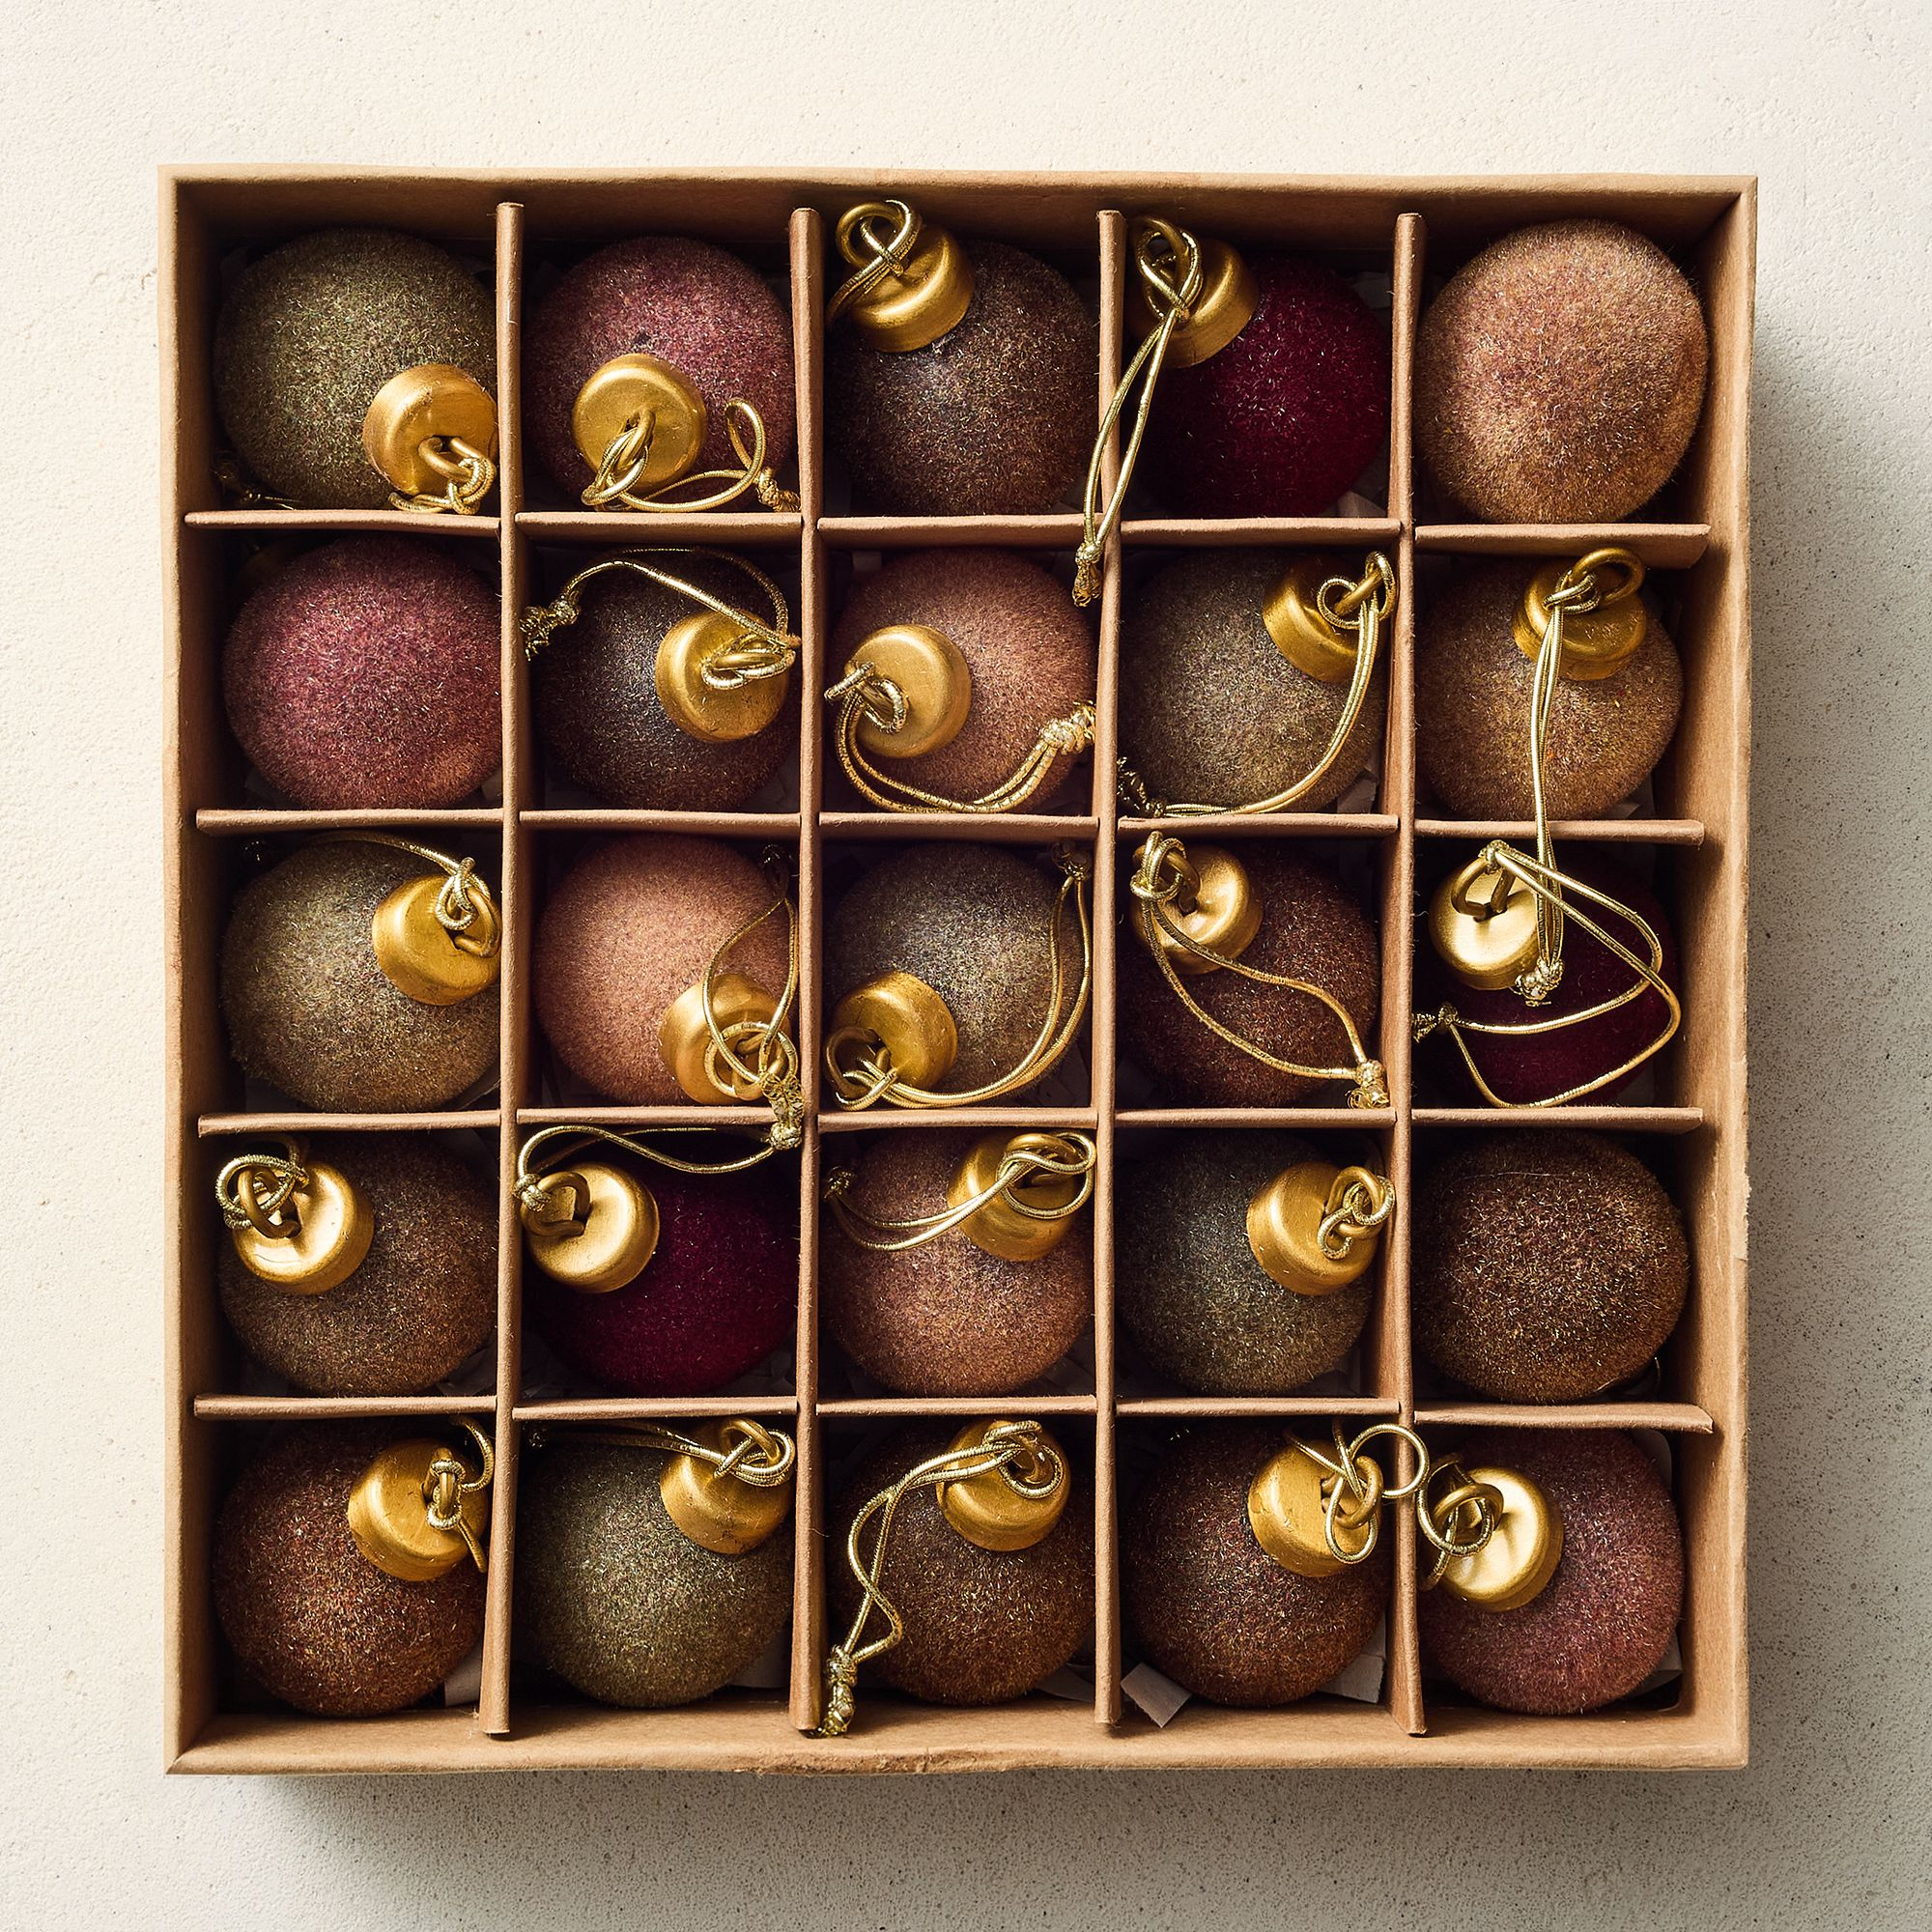
This is where the magic (and personality) really come in. Firstly, start with an ornament base—a cohesive set of simple colors or finishes that tie the look together. You’ll want about 15 ornaments per foot of tree height for a full, lush appearance. If you have a 9 foot or taller tree, then use more ornaments per foot!
Once your base layer is up, mix in unique shapes, textures, and personalized pieces like heirloom ornaments or travel keepsakes. As a result, this will add depth and storytelling to your design. Pro tip: start with your largest ornaments first, spacing them evenly around the tree, then fill in with smaller ones. However, don’t just hang everything on the outer branches—nest ornaments at varying depths to create dimension and visual balance. Lastly add ribbon or picks to fill any gaps and give that high-end, styled look you see in designer trees!
Christmas Tree Ornaments

4. Top Off Your Christmas Tree

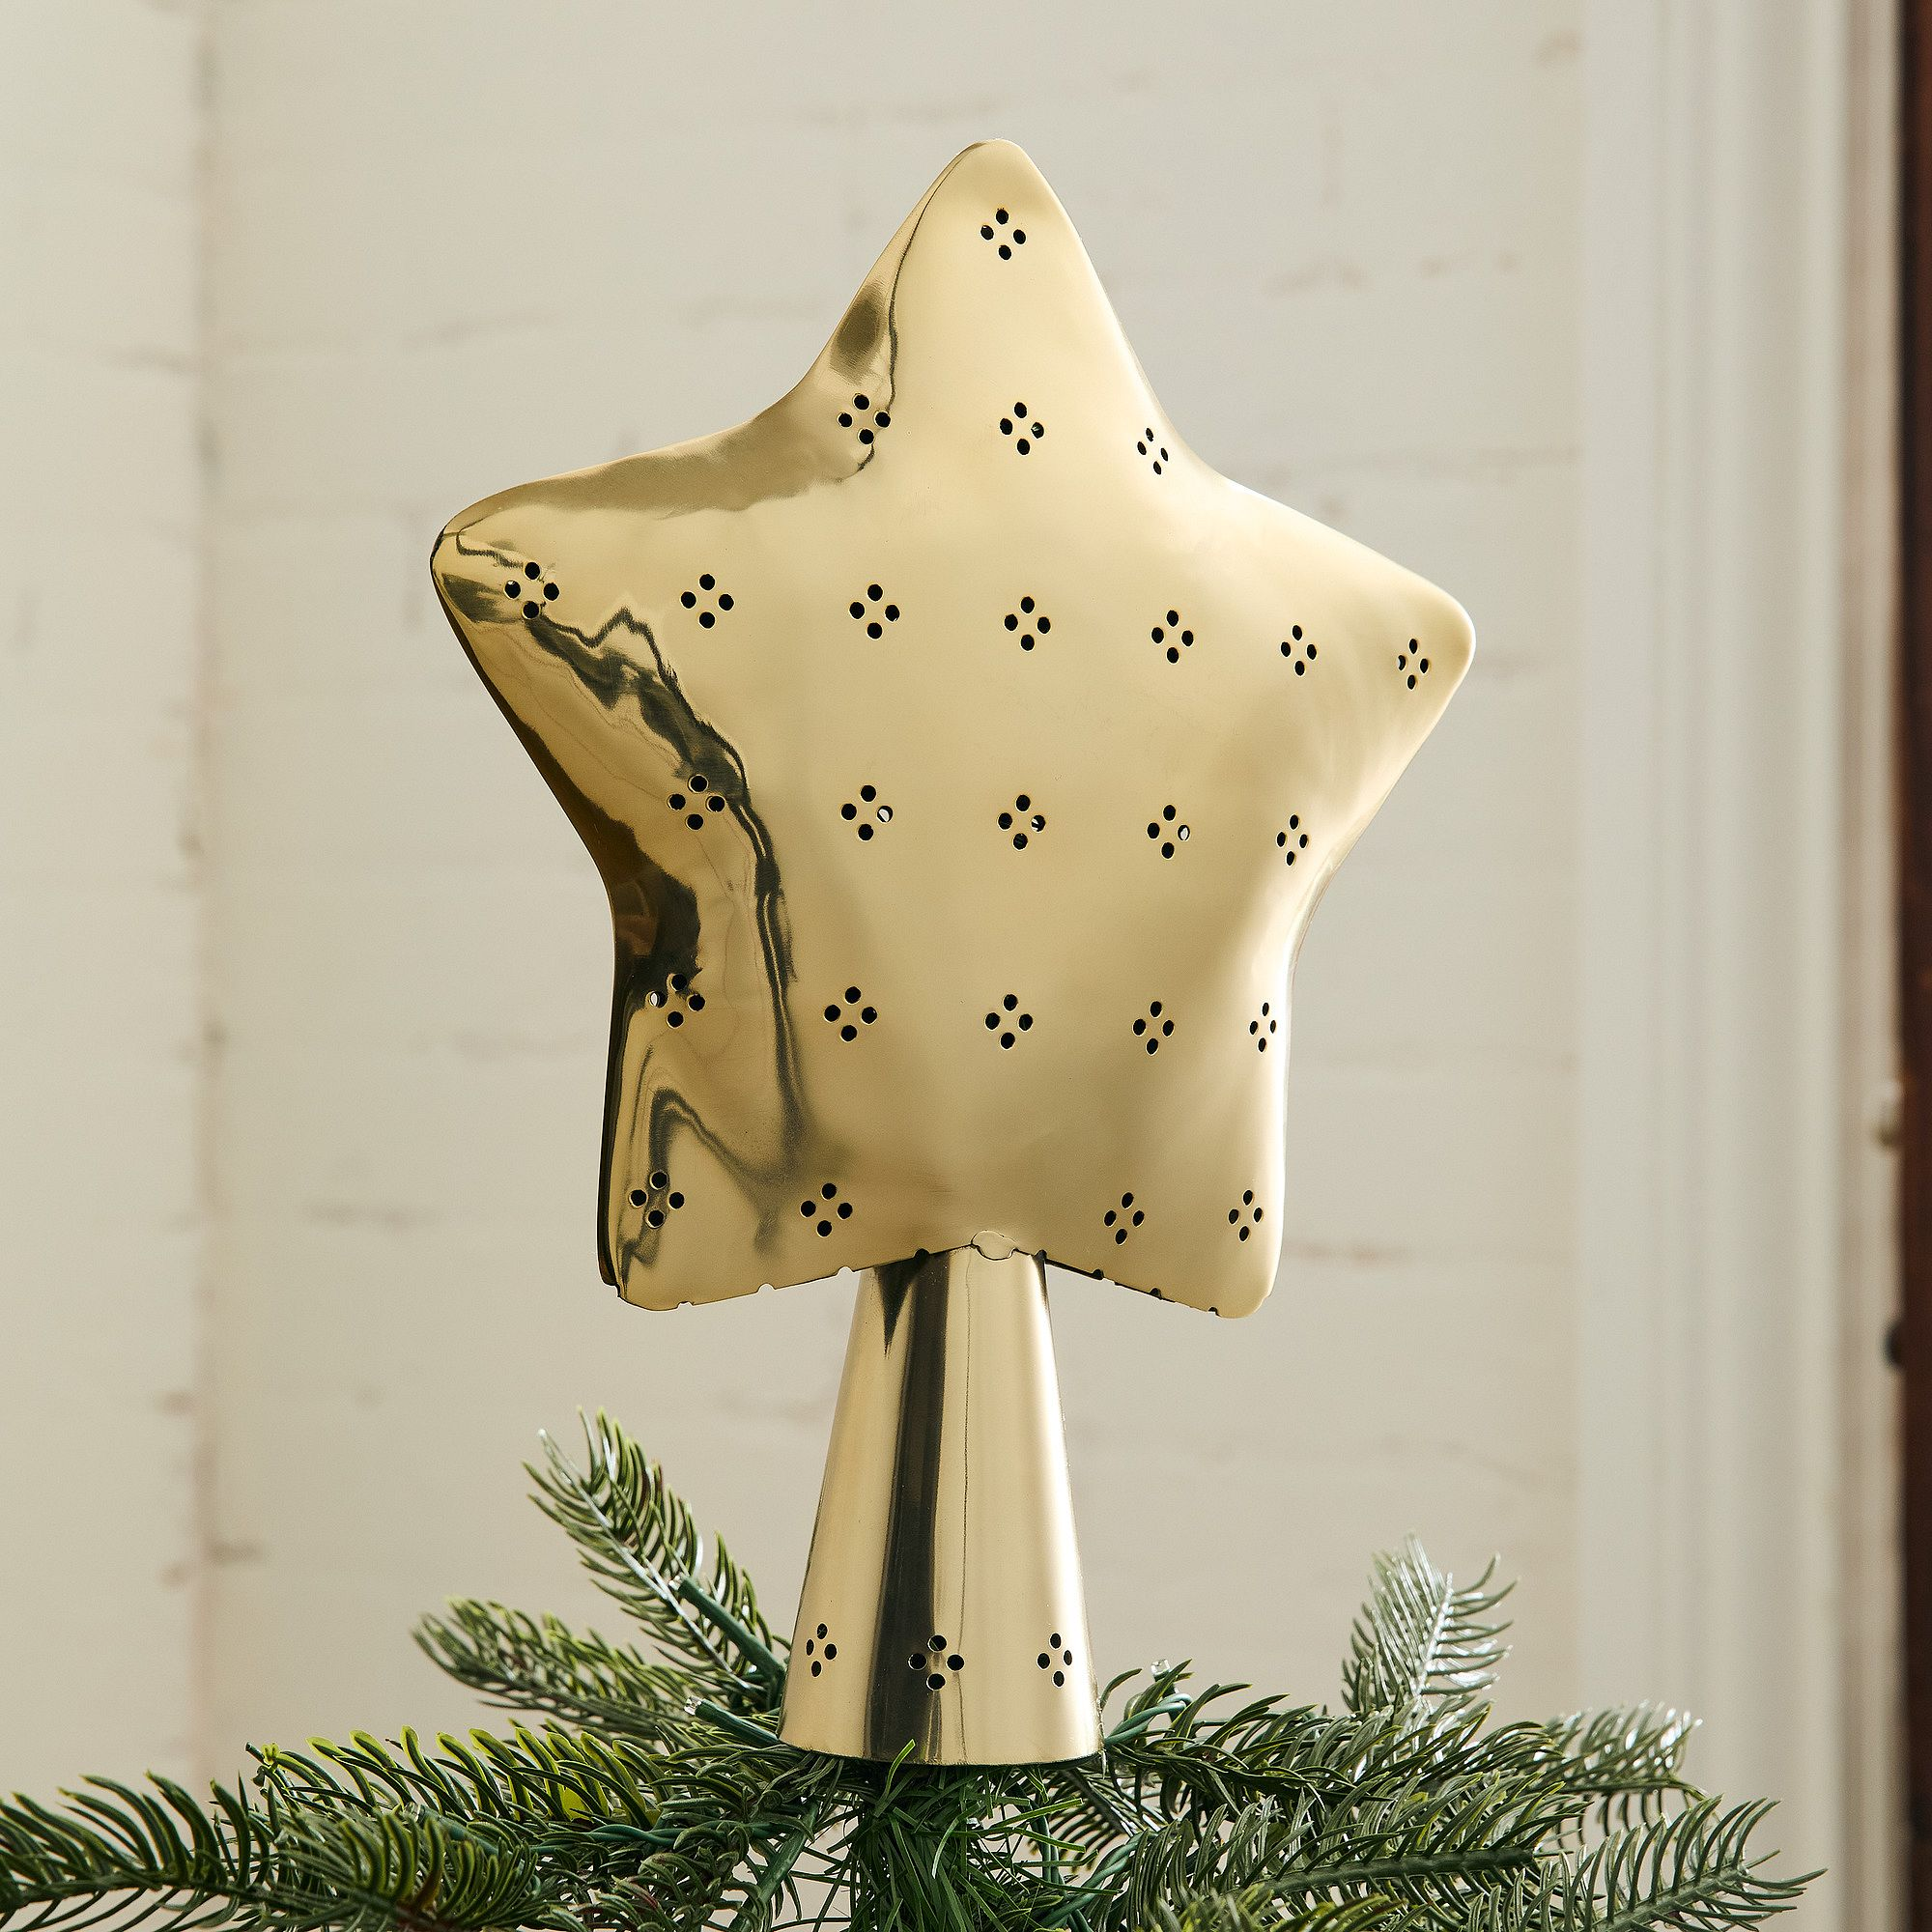
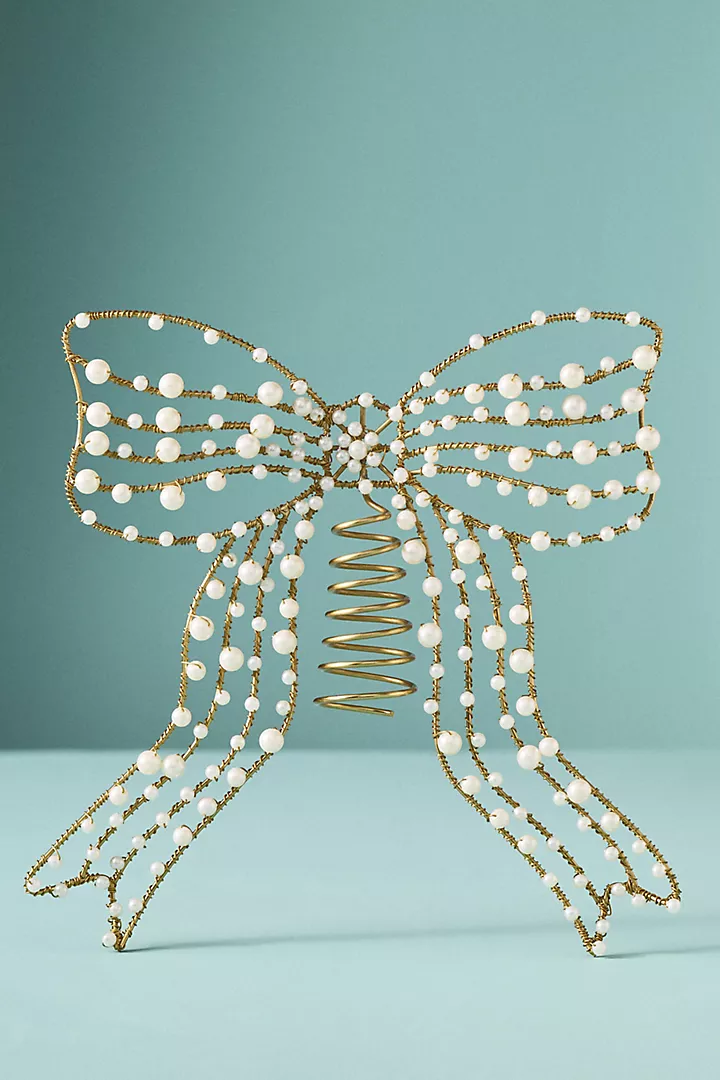
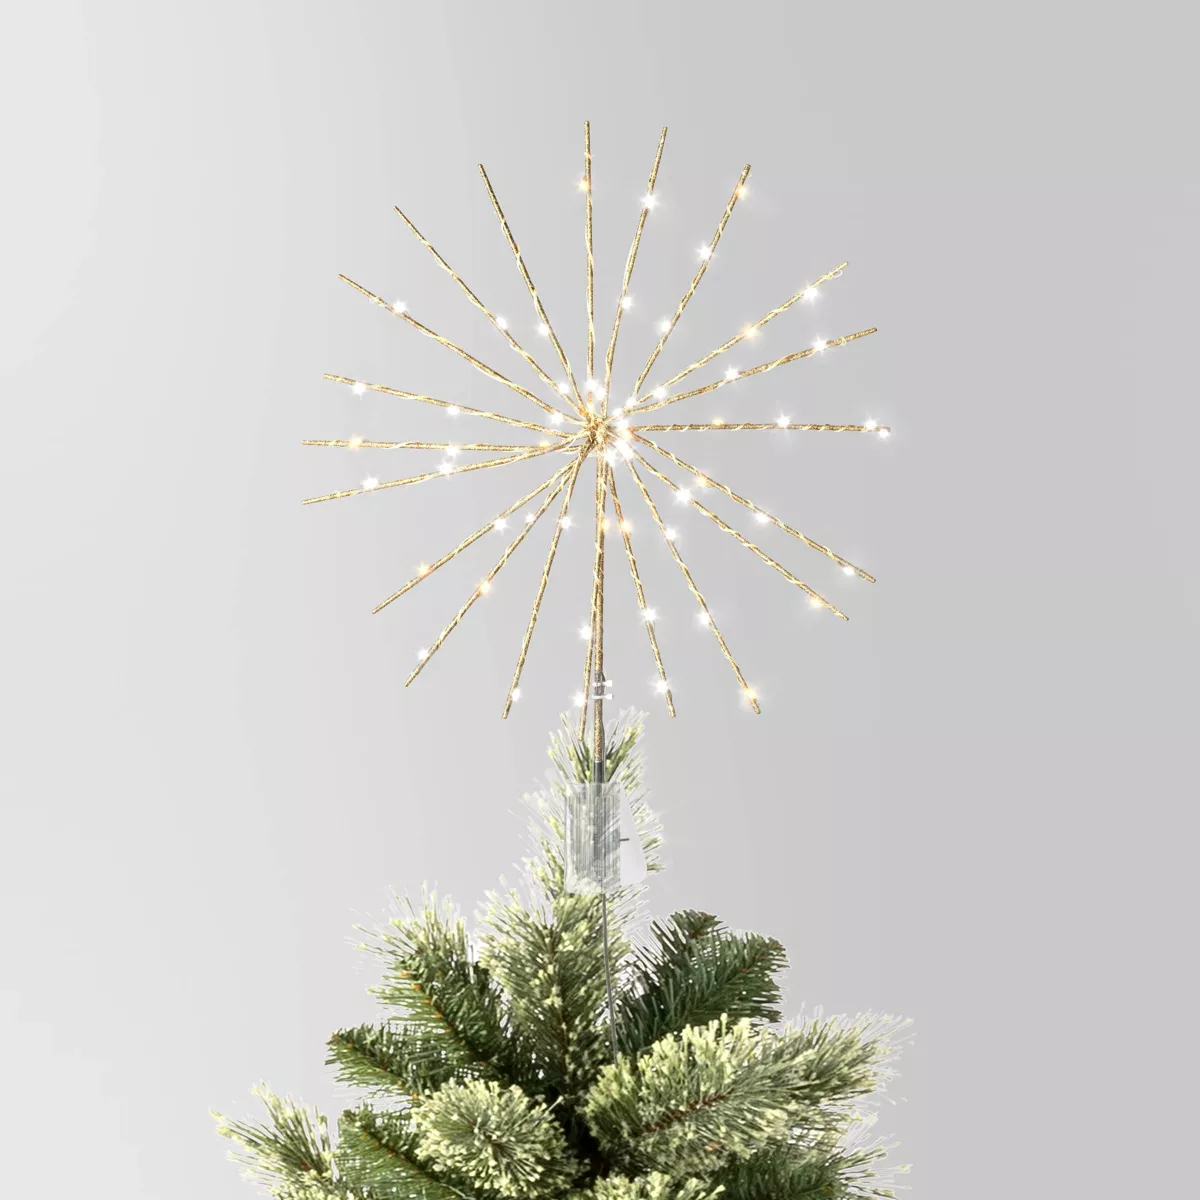
No tree is complete without the topper, so choose something that complements your theme—like a classic star, a vintage angel, or even an oversized bow. The topper should feel like the final punctuation mark of your design, not an afterthought. Make sure it’s secure and proportionate to your tree height because if it is too small, it gets lost, and too big will feel heavy or off-balance.
Christmas Tree Toppers

FAQs
How do I make my tree look fuller?
Firstly, make sure to fluff each branch adequately. Afterwards, make sure to use plenty of ornaments and layer garland or ribbon throughout the depth of the tree (not just on the surface).
How many lights do I really need?
Plan on 100 lights per foot of tree height for a bright but balanced glow. On the other hand, add more if you want a dazzling, extra-sparkly look!
What color scheme should I use?
Pick one or two main colors and one accent. For example, white and gold with a pop of green or burgundy adds sophistication without overwhelming the eye.
Tree collar or skirt—what’s better?
It depends on your style since tree collars look clean and modern, while skirts feel cozy and traditional. Both can elevate your design if chosen intentionally. Just note that collars typically cover more of the base and skirts cover less.
In short, creating a Pinterest-worthy Christmas tree isn’t about perfection—it’s about layering textures, colors, and personal touches that feel intentional and cohesive. By starting with a strong foundation, adding thoughtful layers of light and décor, and finishing with a topper that fits your theme, you can design a tree that looks stunning from every angle and feels uniquely yours.
Check out our other holiday blogs!
Our Holiday Advent Calendar Tradition
The Best Faux Christmas Garland Tested and Approved
Easy Ways to Prepare Your Home for Guests
Looking for more home-related tips, tricks, and resources? Join our email list for the latest and greatest Alma Homes updates, and follow us on Instagram for more inspiring home and design content.
Love our website? Use code ALMAHOMESSENTME for 10% off any Tonic Site Shop website template.